

Feel free to add whatever you may have.
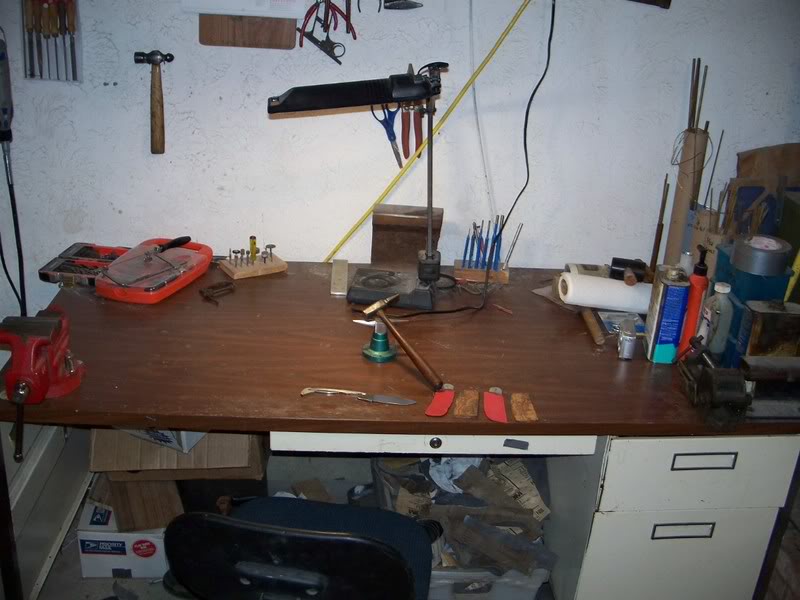
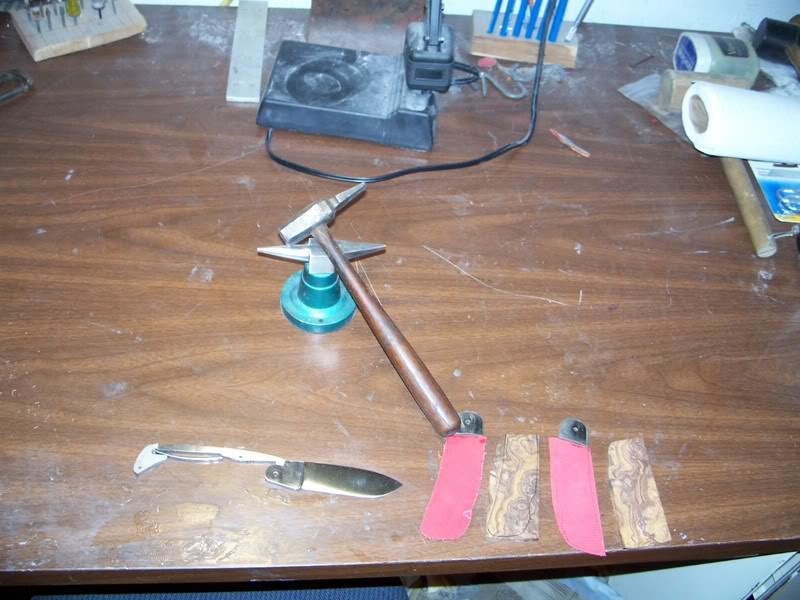
My new Desk, where I do most of my hand work:
Desk drawer full of handle material and knives that need some attention:

Center drawer is limited to scrap pins, rulers, pencils, pens, and other small goodies:

Off to the right is organized pin stock and parts bins:

another shot of the desk:

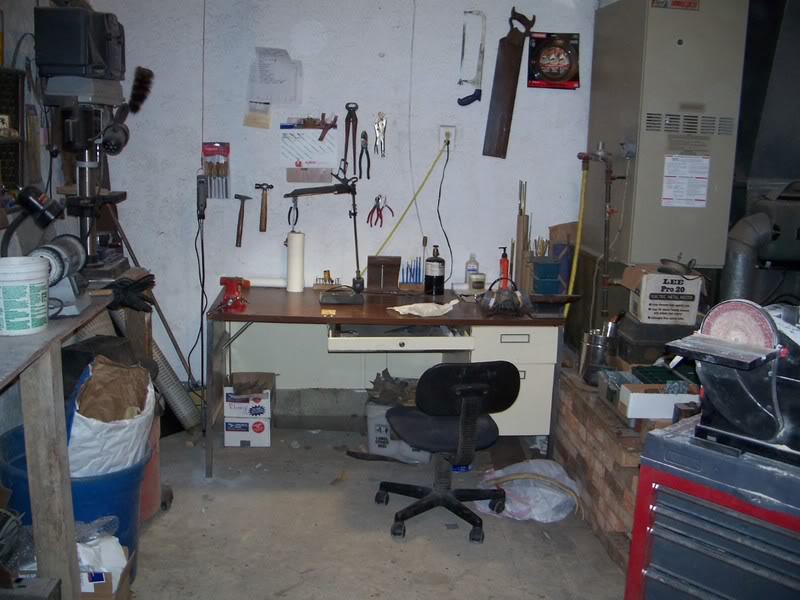
The workbench that holds, my larger vice, sander, buffer and drill press, my 4x32" sander sits on top of a rolling tool box so I can wheel it wheever I need it to go, and I can move all the way around it without interence from other tools:

It's kind of cramped but does the trick: