Cutting Stag, Making the most of your rack.

This forum is for posting step by step techniques used in the art of making, customizing, and repairing knives. Please stop by and teach a few things or maybe learn something new from the talented members of AAPK.
Post Reply
User avatar
muskrat man
Gold Tier
Gold Tier
Posts: 5667
Joined: Fri Jun 30, 2006 4:04 am
Location: Ohio
Contact:

Cutting Stag, Making the most of your rack.

Post by muskrat man »

Whenever you start cutting up a rack, be it deer, elk or stag before doing anything you need to ask yourself what you want from the rack? To make the most of your material I like to cut a variety of things because certain areas do not lend themselves to a particular type of handle. I will go through this in this short and dirty tutorial of how I cut up my antlers.

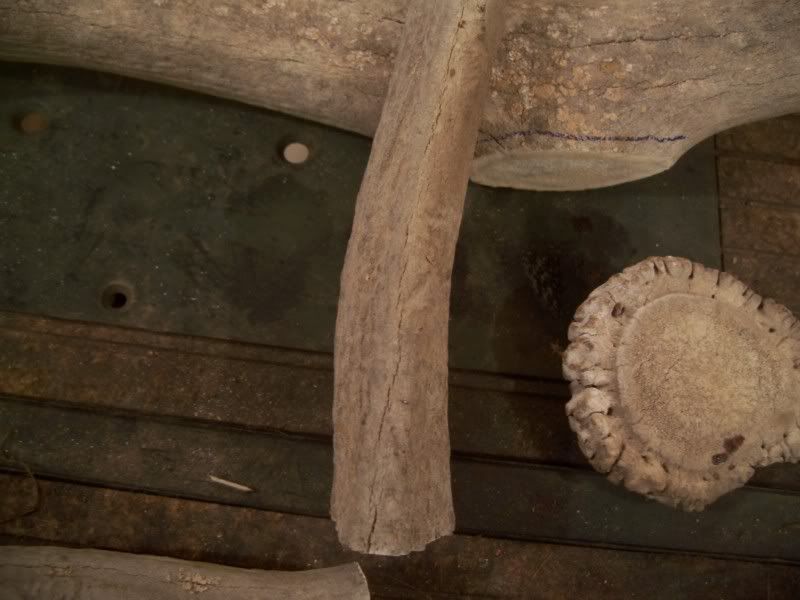
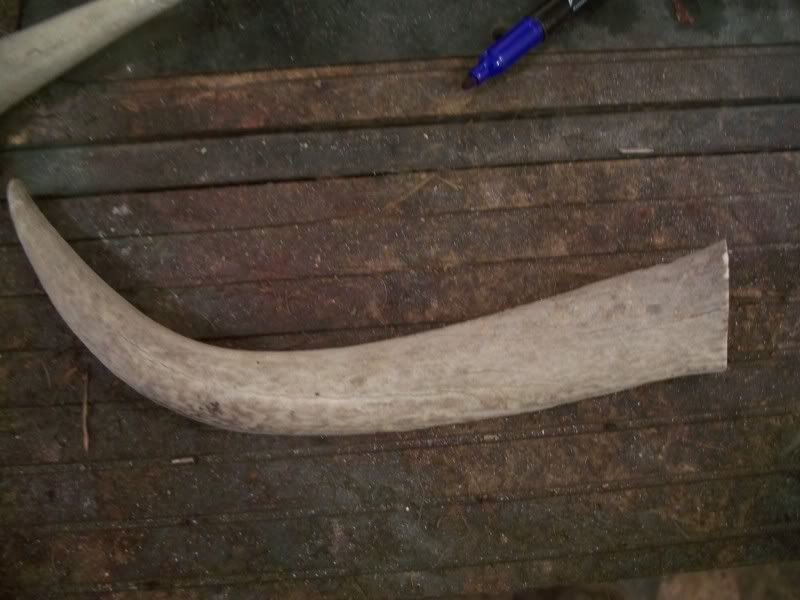
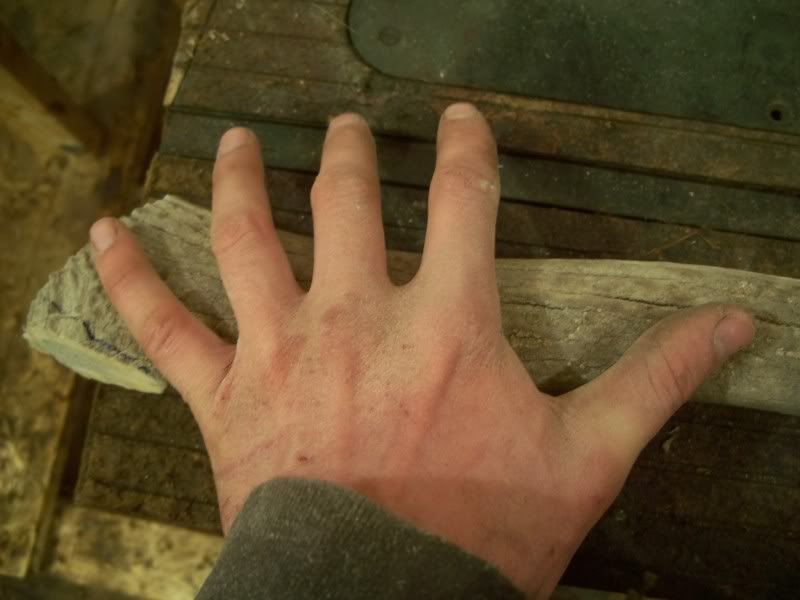
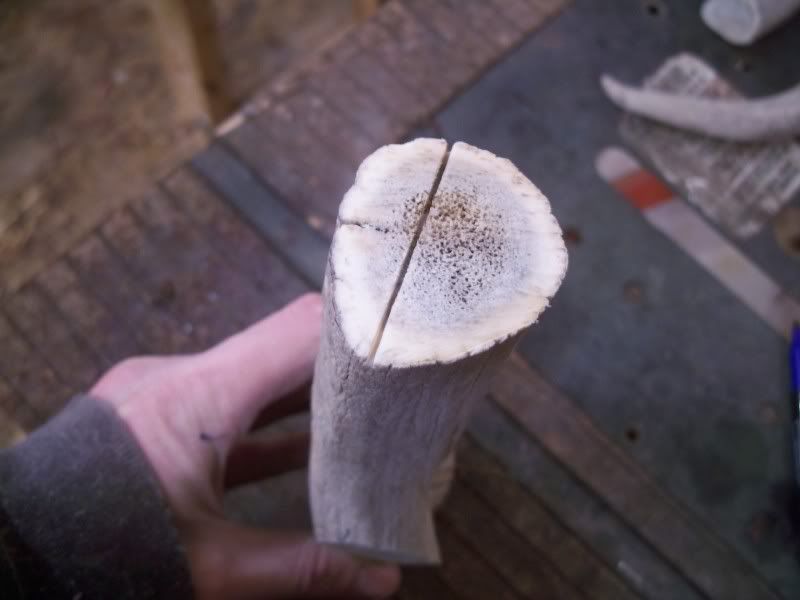
This is a piece of dropped elk, I've already used about half of it. Normally I cut antler as I need it. In other words, the rack stays whole until I need some that way I can cut exactly what I need and save myself from cutting pieces I may not use for years. This piece is old and sun bleached, dirty with age and cracked but once it is hafted and polished it can have a look similar to bark ivory with all the deep dark fissures and snow white highlights.
Image

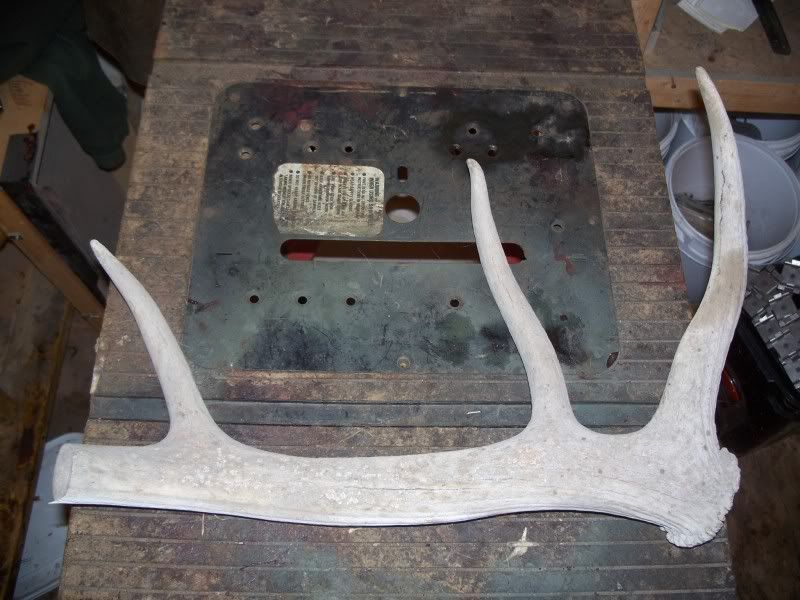
If I'm cutting up a rack all at once, what I do first is cut off the crown. Leave enough material on the back to flatten it and you can make a belt buckle or sell it to someone who does.
Image

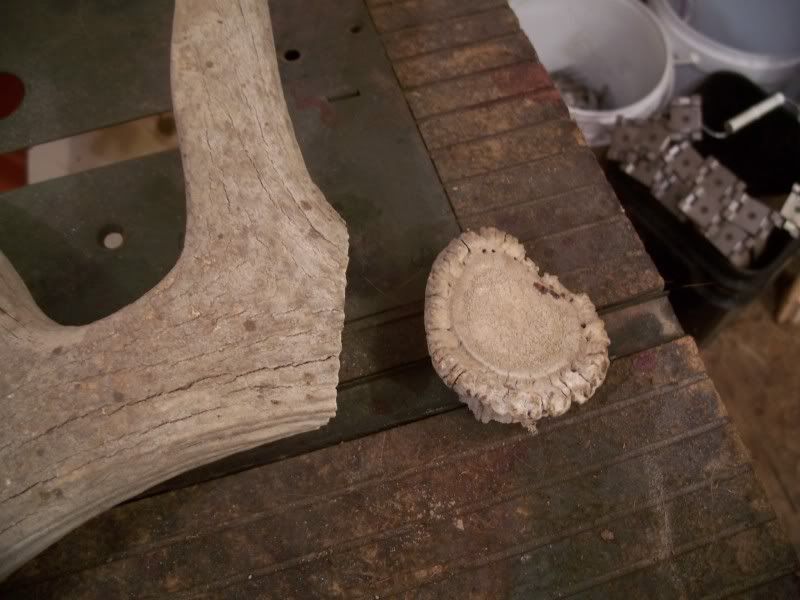
Now, before we go any further, if you're looking to make pistol grips, for single action pistols in particular you don't want to cut the tines off immediately, you'll want to lay your grip out on the antler and see where you need to cut to get the proper piece, the best for this is usually where the first tine meets the main beam just ahead of the crown.
Image
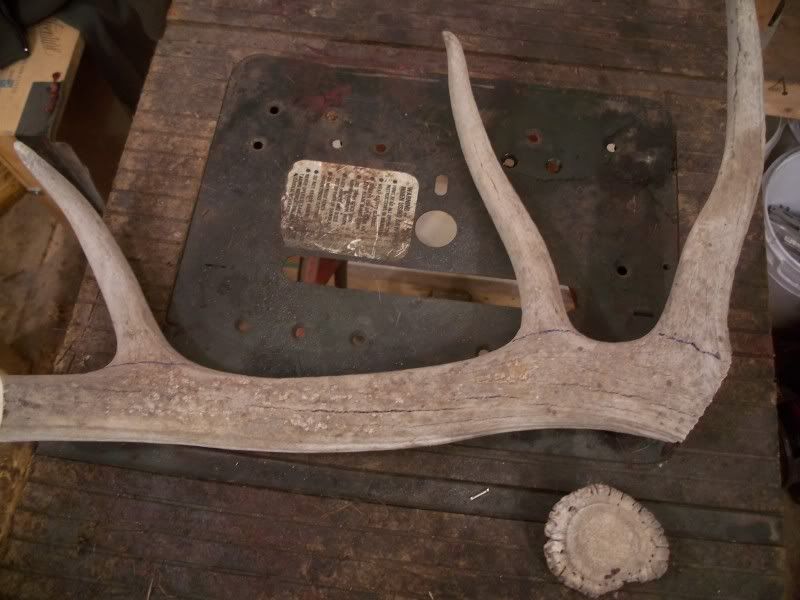
Now if we're just doing knife handles I normally whack off all the tines up next to the main beam
Image

Next I deciude what I will do with the tines, this is largely dependant on what the tines lend themselves to being, long flat tines make good slabs, curved round tines will make better handles for fixed blades with hidden tangs, and some just get cast aside until a later date when I need to slab off a piece for inlay, slice for buttons ect.

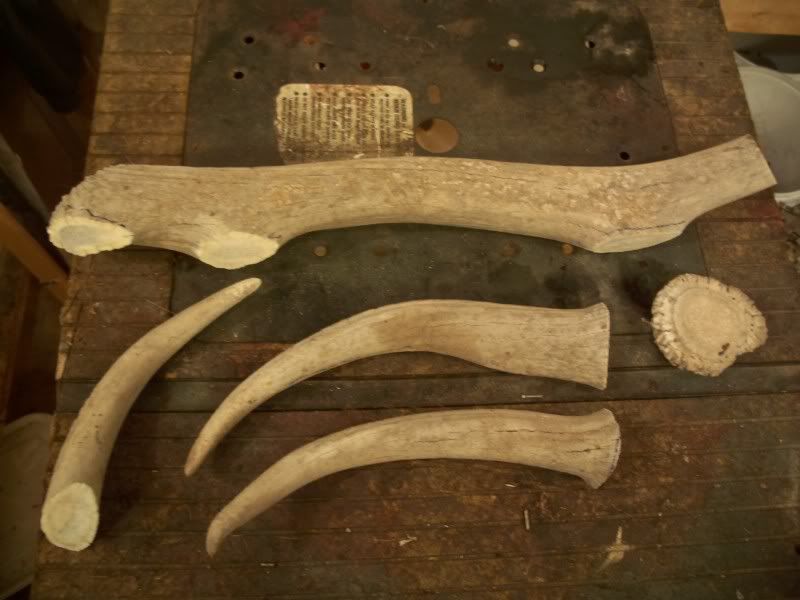
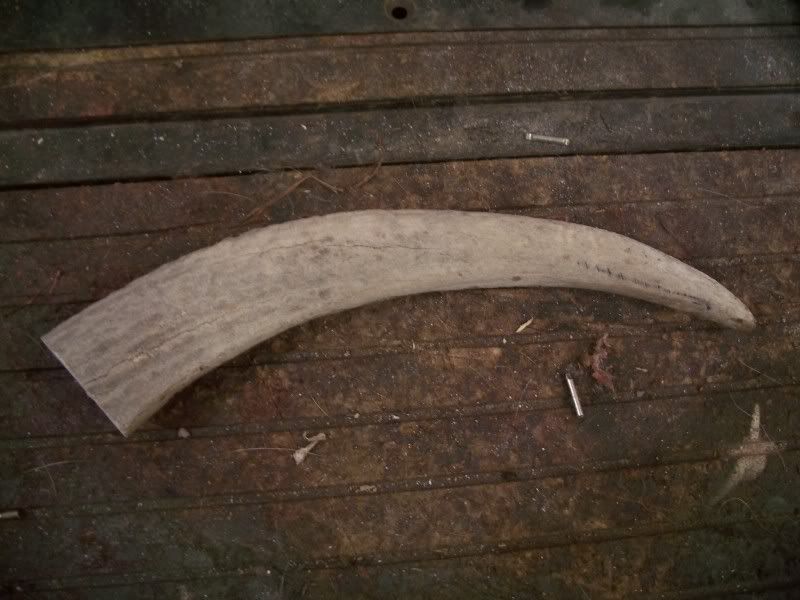
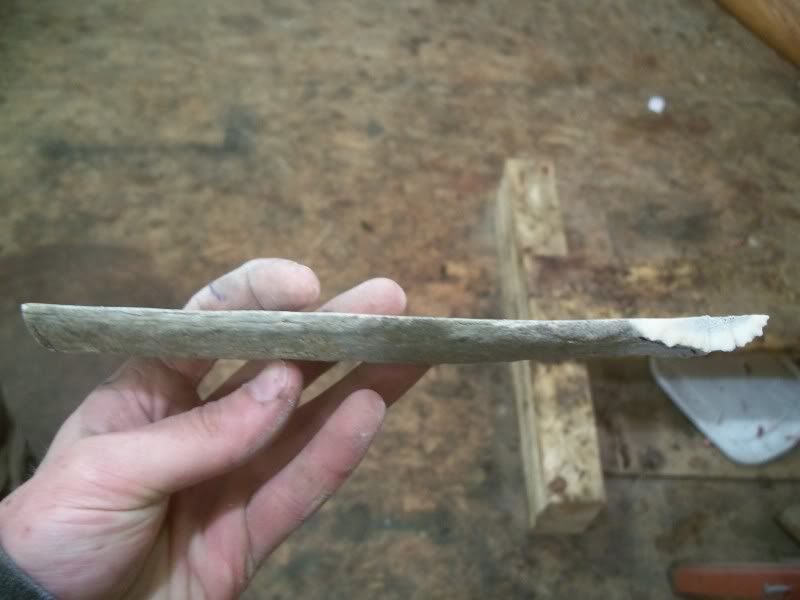
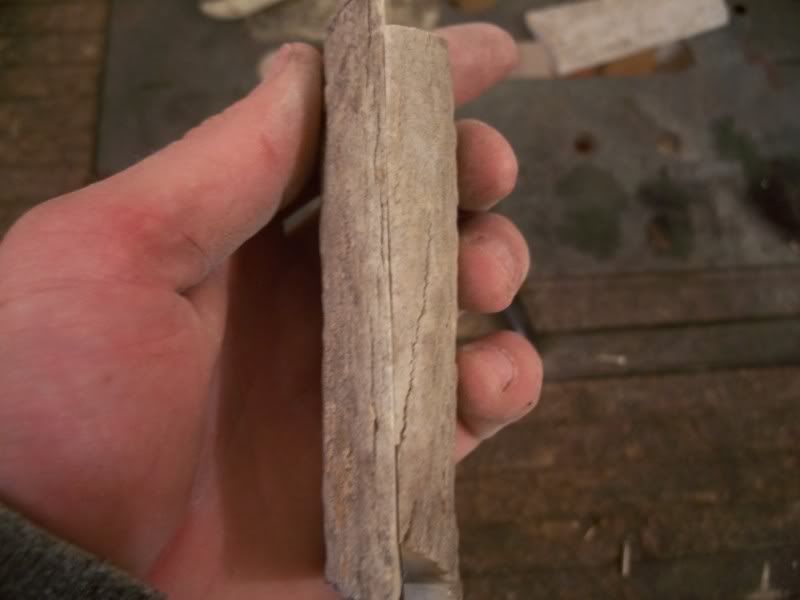
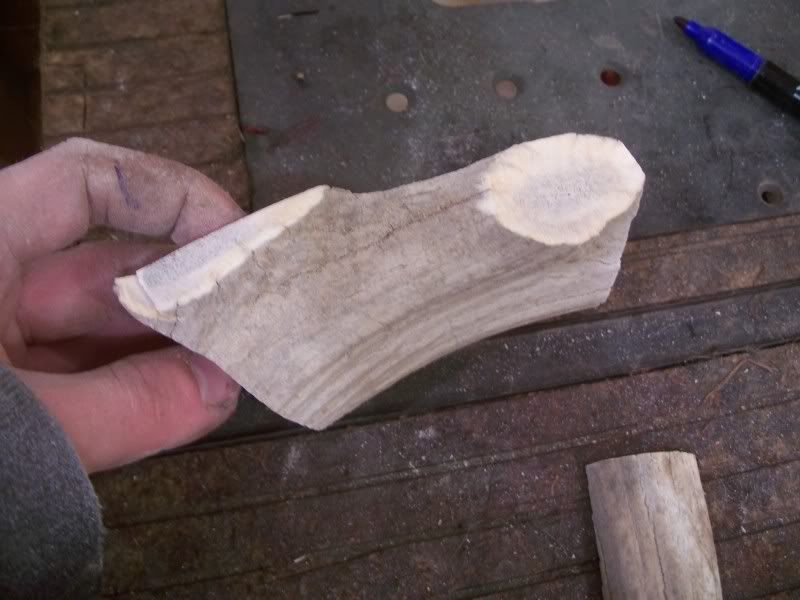
This tine is pretty flat and has a straight area long enough for a set of folder slabs
Image
Image

I cut it where it begins to make a turn to get the longest flat piece I can
Image

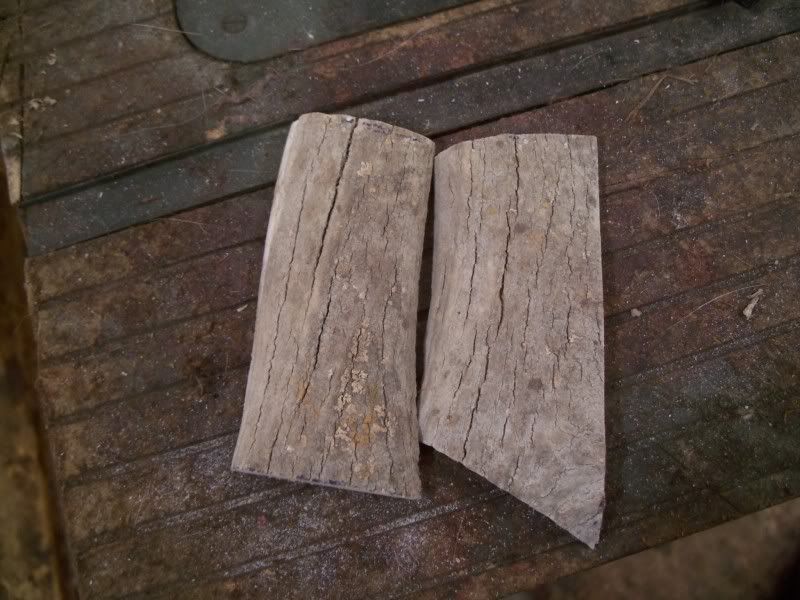
then rip it right down the middle with a bandsaw, a decent set of slabs for something about the size of a 4 1/2" knife
Image

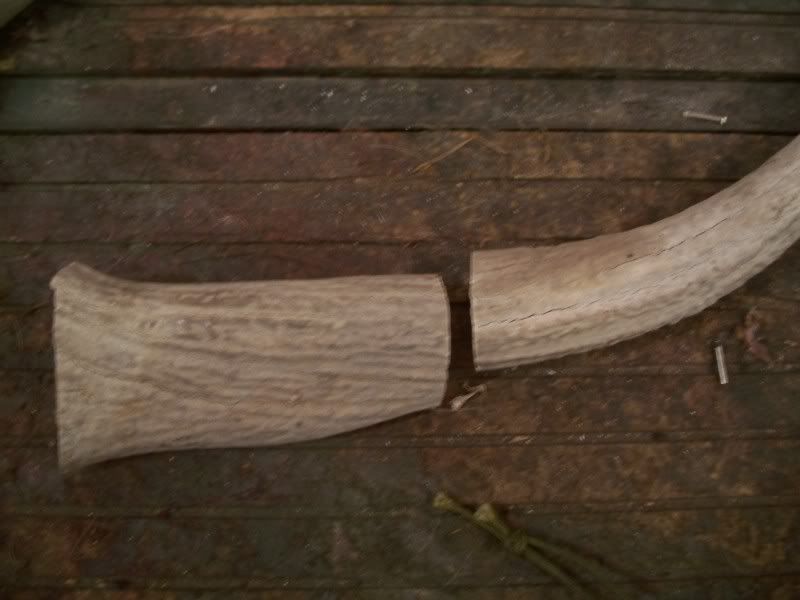
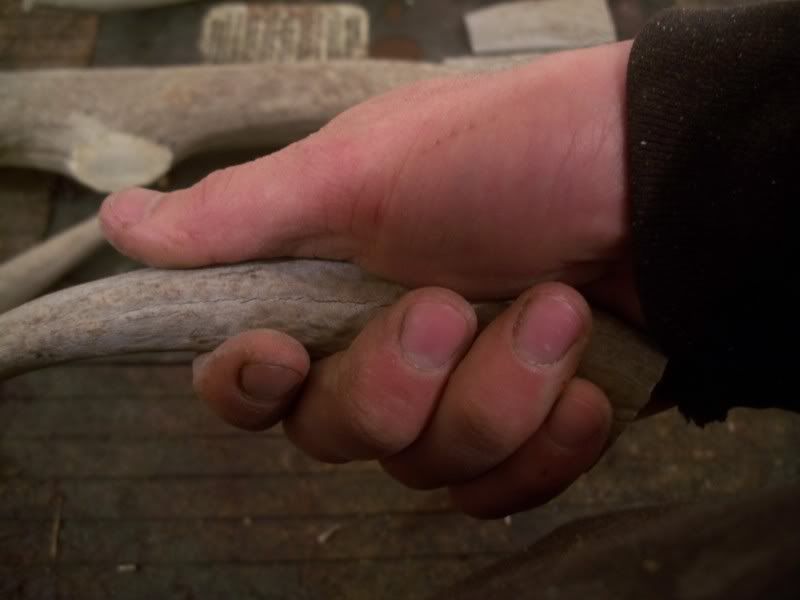
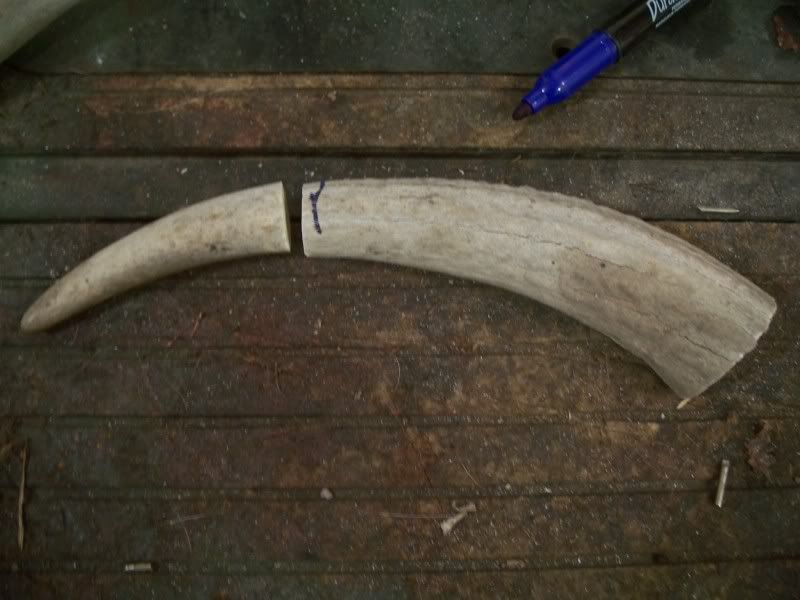
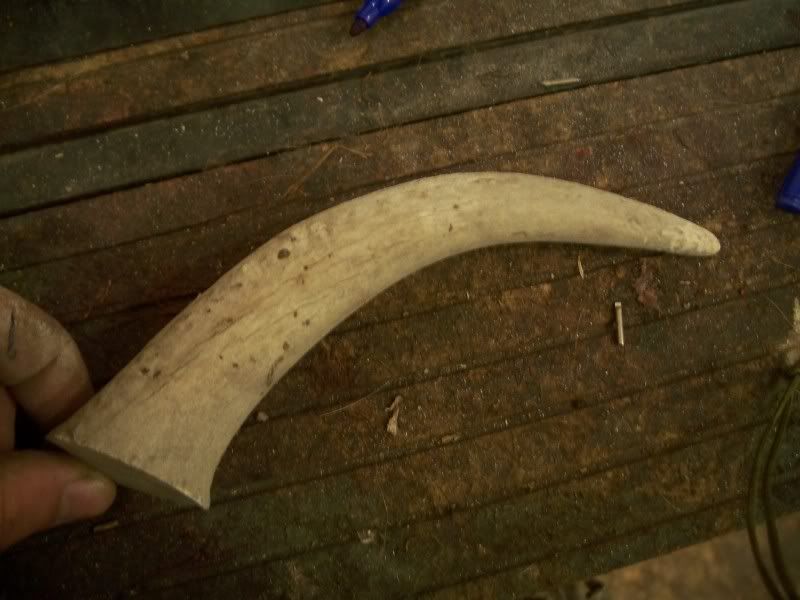
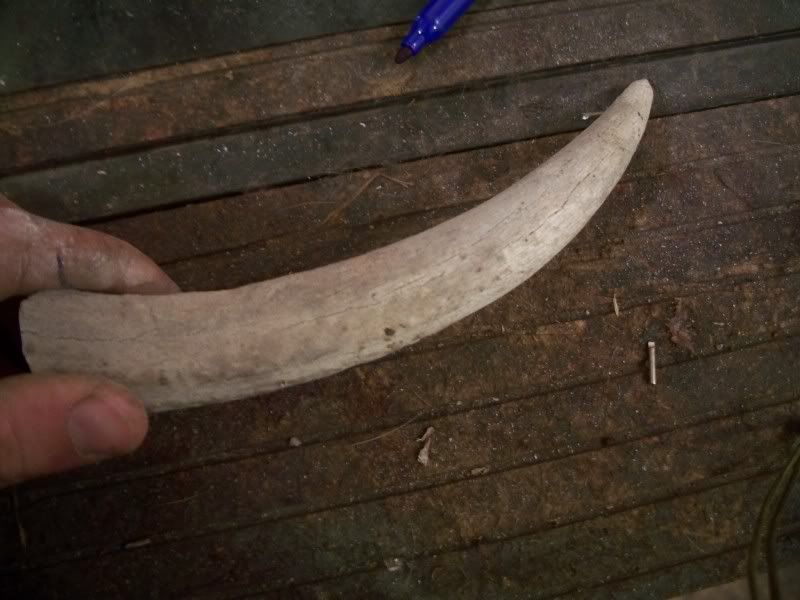
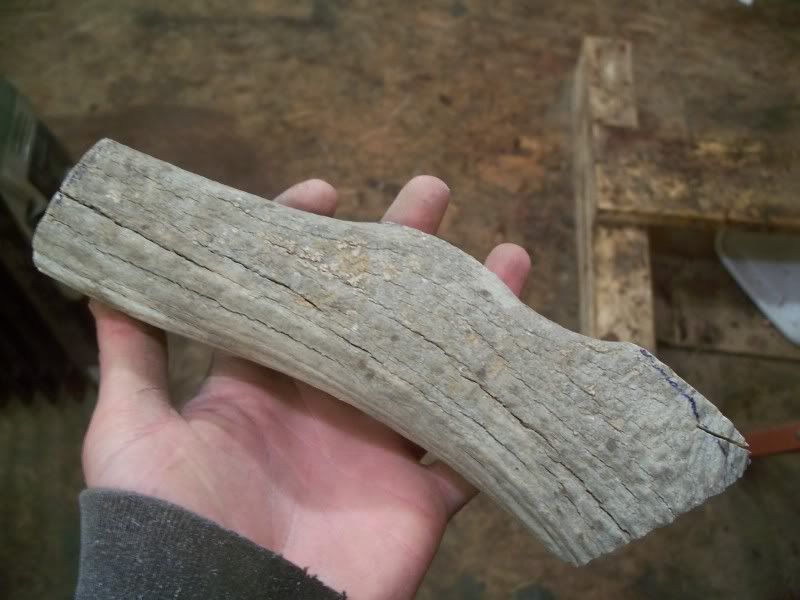
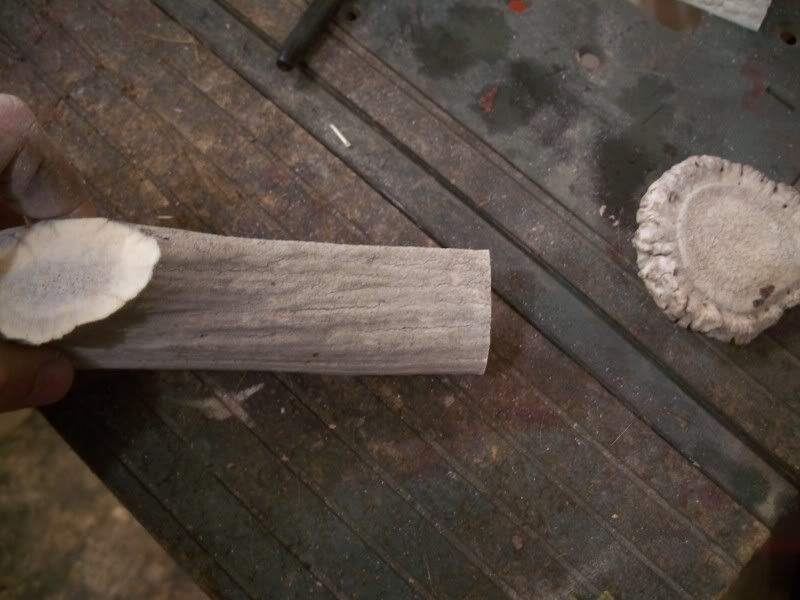
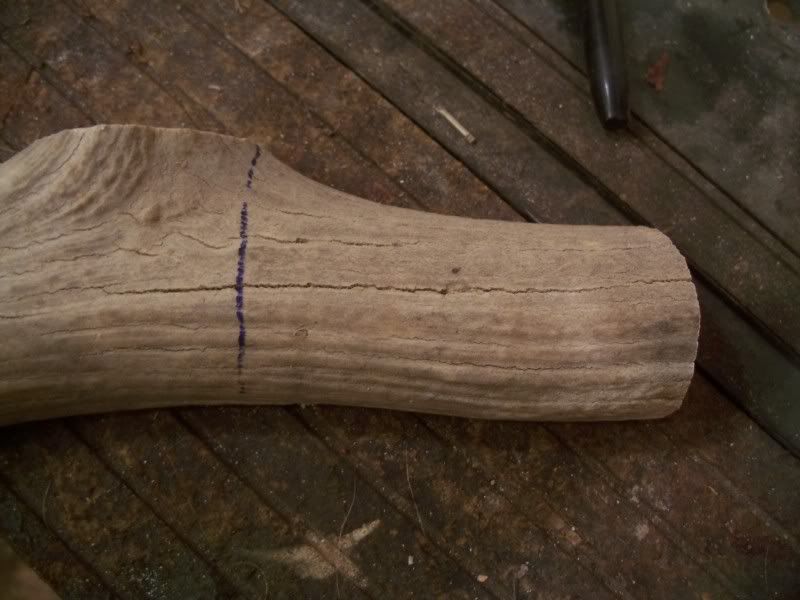
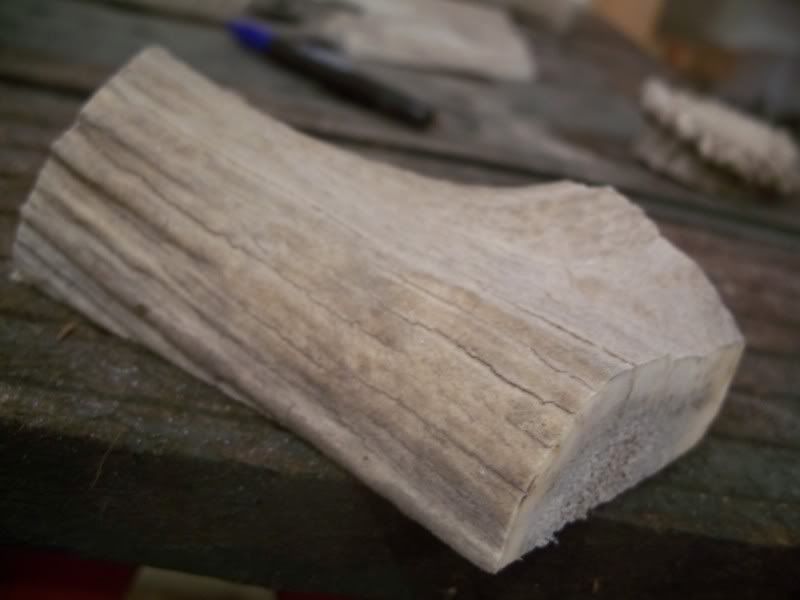
This tine is very round and curved.
Image

Feels nice in the hand too
Image

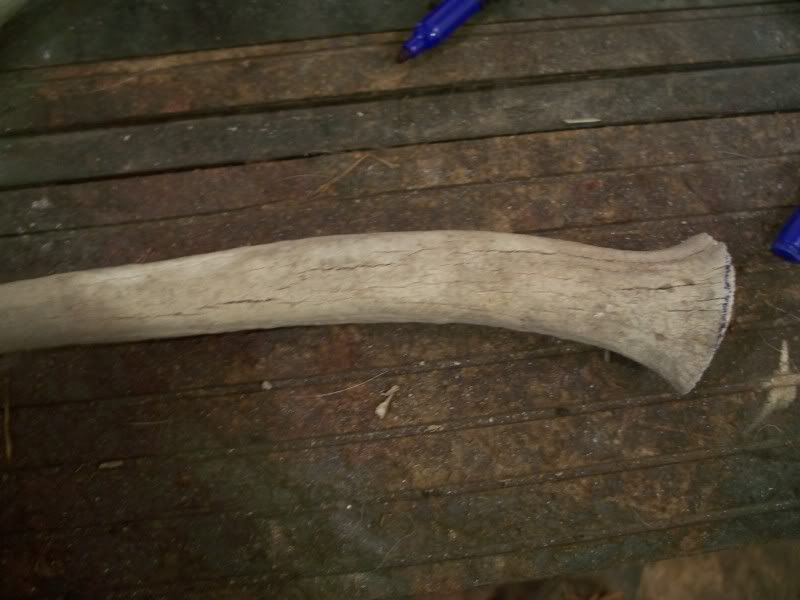
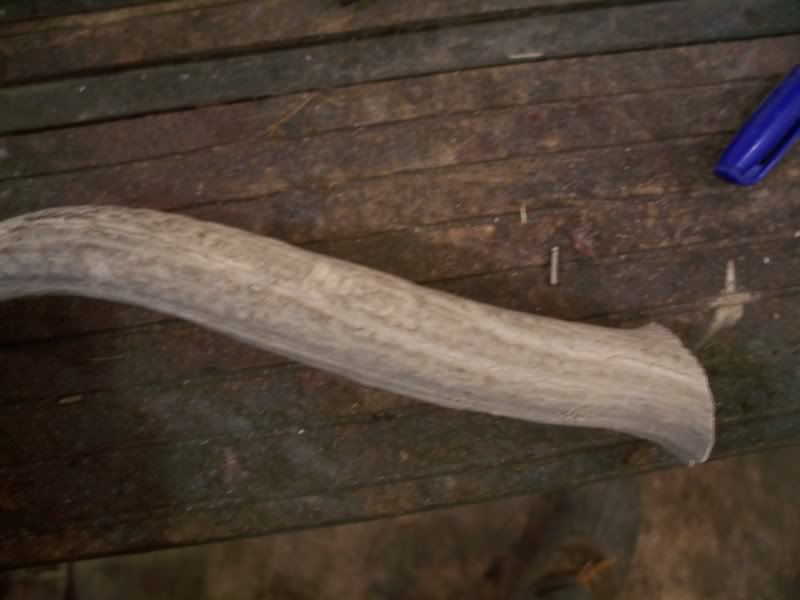
Mark it and cut it longer than needed, this will make a nice hidden tang fixed blade handle
Image

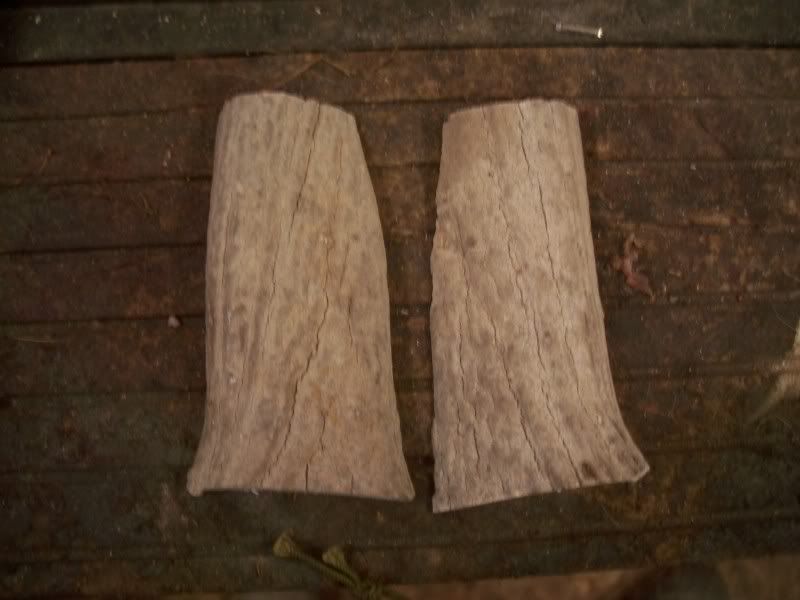
These tines are too bent, irregular and curved to do anything with right now, though they can be used for a variety of things in the future, slice them up into buttons, use the very ends for neck knife or fire striker handles, or squeeze a single small slab out of each one later on to replace one that splits or cracks in the process of installation. This is only two tines with a few pics of each from different angles to show the irregularities
Image
Image
Image
Image
Image

Now we get into the good stuff

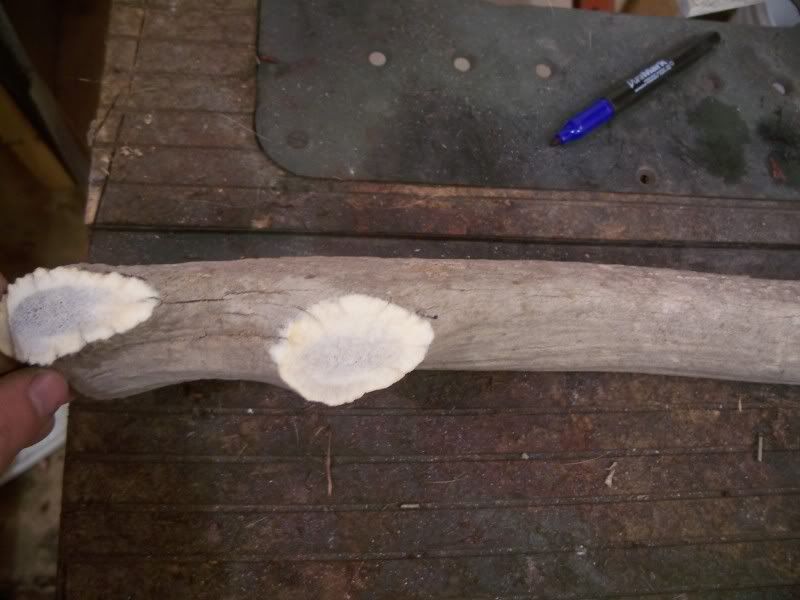
The main beam takes some studying to get the most of it, if you slab a big piece like this right down the middle, you're wasting a LOT of mnaterial. If we're looking for slabs for folding knives under 6" you can get a lot more out of your antler by just shaving off the outer layer of stag. then instead of having two oversized slabs you'll have 3 or 4 properly sized slabs. I'll show you.

Find the flattest most uniform side on the beam, we'll slice that one first
Image

It's about a 9" long piece
Image

Cut if off and begin the slice far off center but thick enough to accomodate any knife and allow room for fitting
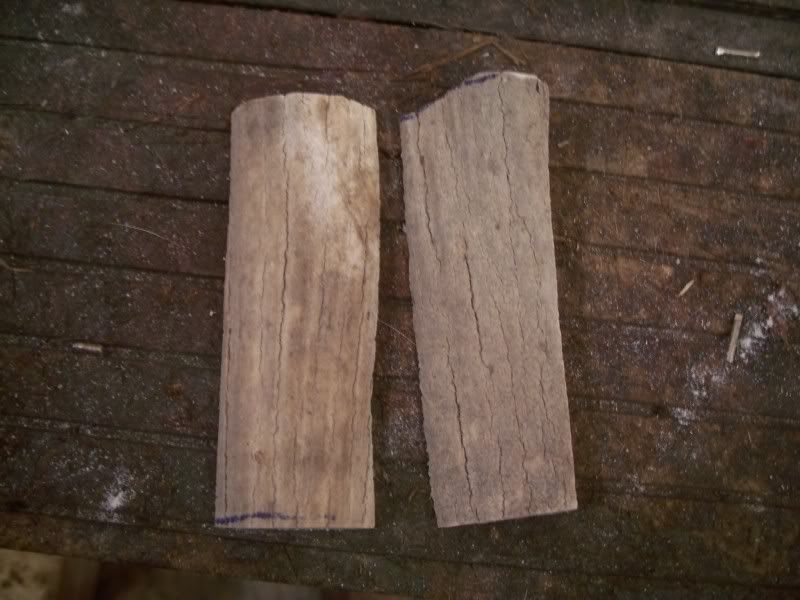
Image

A nice flat slab!
Image
Image

Cut it about in half
Image

A good matched set of scales for anything up to folding hunter sized with plenty of room for fitting
Image
Image


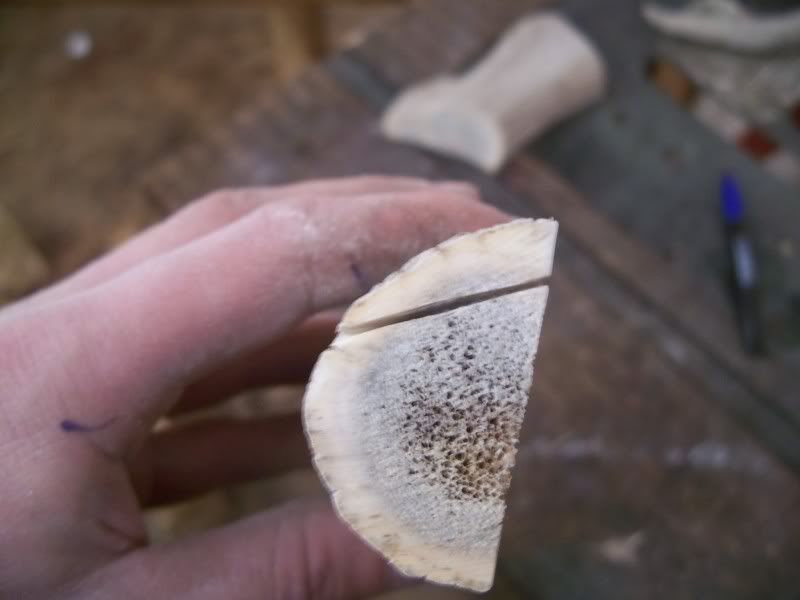
Now we play with the leftovers, since that was the finest set we'll get out of this antler.

Looks like I can squeeze a slab out of here about 3 3/8"
Image

marked for cutting
Image

remember, only cut as deep as necessary
Image

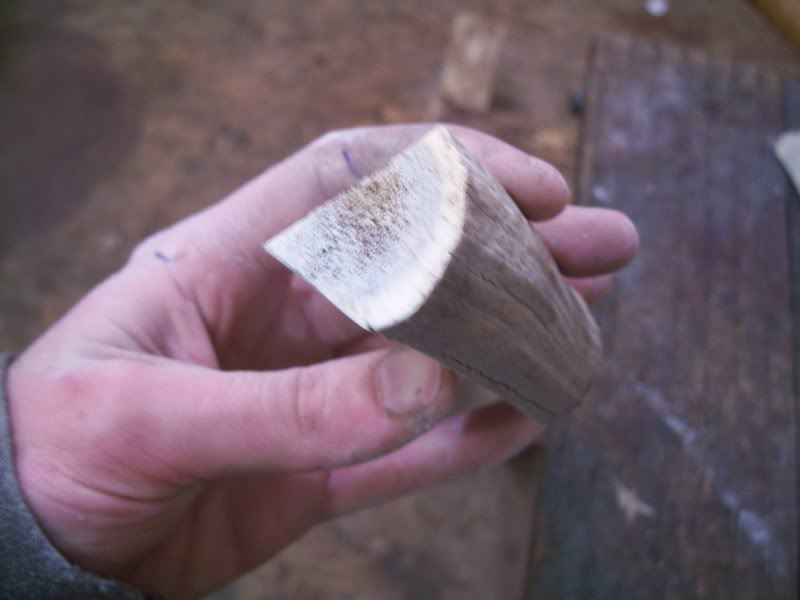
One side down, now shave off the remaining bark for the second slab
Image

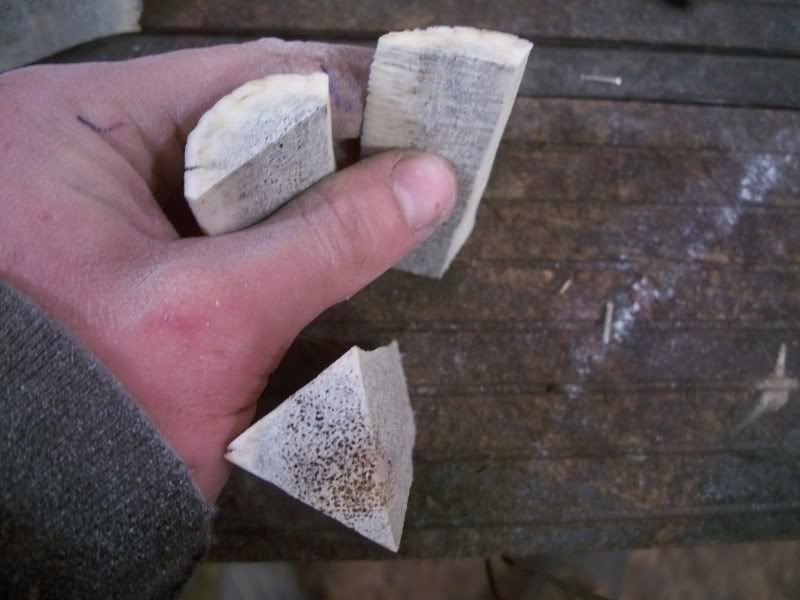
Two nicely matched slabs with a triangular core of worthless pith. Thats 4 slabs, where you only would have gotten 2 if you had center sliced the first set.
Image
Image

This is pretty irregular, not flat enough in any area for a good slab. I'll toss it aside for now, I may need a piece for inlay at a later date, or with a little creative sanding and polishing could make a very unique desktop holder for a pen/pencil set. Especially a set turned out of antler!
Image
Image

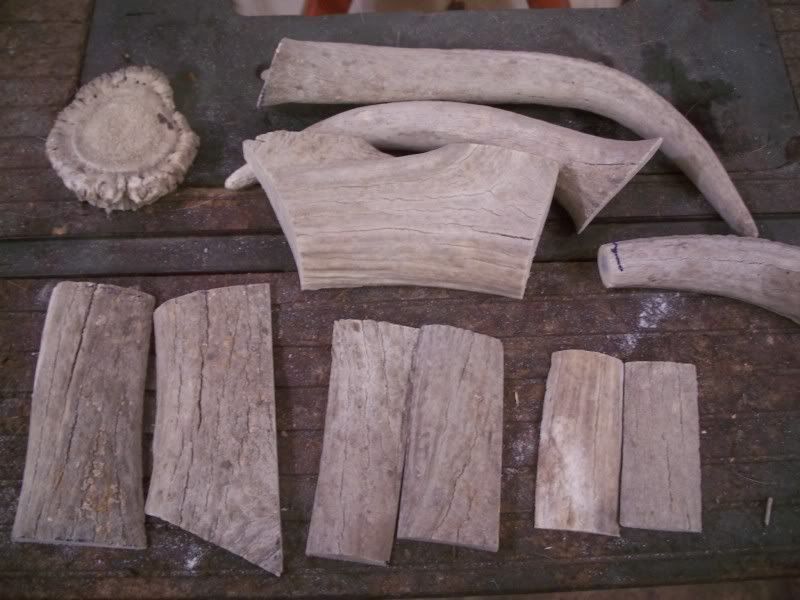
Here's what we have, a crown for a belt buckle, 3 sets of slabs, a "carver" round for a hidden tang, and some extra for other crafts later on. If you don't do other crafts like belt buckles and pen/pencil holders and such any scrap can be sold to folks that do. So very little goes to waste.
Image

There it is, I hope you found it helpful. The best advice I can give is know what you want out of it and read the angles of the stag and slice accordingly. If you want something particular like a set of grips for a single action pistol, you may have to sort through several racks to find a piece that is suitable. You can't pull a rabbit out of a hat every time.
Custom knives, repair, restoration & embellishment
Certified Hubertus, Taylor, & Schrade repairman past and present
http://www.muskratmanknives.com
https://www.facebook.com/Muskratmanknives
User avatar
JWS
Posts: 294
Joined: Thu Nov 11, 2010 10:36 pm

Re: Cutting Stag, Making the most of your rack.

Post by JWS »

Thank you for sharing your knowledge and craftsmanship.
I could read this type post all day.
I guess those who can't or wont can always watch and read?
::handshake::
J.W.

M.I.L.T.D.D.
User avatar
jaswarb
Posts: 106
Joined: Thu Jul 14, 2011 9:36 am

Re: Cutting Stag, Making the most of your rack.

Post by jaswarb »

Thanks Kaleb. You have done this once or twice I am guessing. Seems it helps to think in three dimensions and spend more time planning than cutting.

I am the kinda guy that cuts it twice only to find it is still too short.
My two cents and worth just what you paid.
User avatar
whitebuffalo58
Posts: 2743
Joined: Tue Aug 17, 2010 2:35 am
Location: SW MO Heart of the Ozarks

Re: Cutting Stag, Making the most of your rack.

Post by whitebuffalo58 »

Somehow I just knew you were gonna make it look easy, Kaleb. I learned alot, thanks for posting this. One question, did you freehand that first slab off the main beam? If so, that is extremely impressive! I've tried that, mine came out 1/2" thick at one end, 1/4" in the middle and 3/4" at the other end. ::facepalm:: I set up a tall fence on my bandsaw after that and still don't get as straight of a cut as you did there.

WB
User avatar
muskrat man
Gold Tier
Gold Tier
Posts: 5667
Joined: Fri Jun 30, 2006 4:04 am
Location: Ohio
Contact:

Re: Cutting Stag, Making the most of your rack.

Post by muskrat man »

WB, yes sir that's free hand. I use a bit thicker blade, and go slow. NEVER use a fence with stag because the surface is never regular and your cut will always reflect the contour of the textured side. I hardly even use a fence of squared up wood or horn I can do it better free hand. The only time I use a fence is with a table saw cutting lumber.
Custom knives, repair, restoration & embellishment
Certified Hubertus, Taylor, & Schrade repairman past and present
http://www.muskratmanknives.com
https://www.facebook.com/Muskratmanknives
User avatar
singin46
Posts: 8126
Joined: Thu Feb 08, 2007 6:57 am
Location: MUSIC CITY

Re: Cutting Stag, Making the most of your rack.

Post by singin46 »

Very nicely Done Kaleb! Great way to use the most of the antler. Looking forward to more info on this. ::tu::
Love all Jacks
User avatar
whitebuffalo58
Posts: 2743
Joined: Tue Aug 17, 2010 2:35 am
Location: SW MO Heart of the Ozarks

Re: Cutting Stag, Making the most of your rack.

Post by whitebuffalo58 »

Well Kaleb, I said it before, but i'll say it again...that is extremely impressive! You sir are the "RACK MASTER"!! I'll give it another go without a fence and see if I can't do better. I've had my tail kicked so many times tryin' to cut up antler, i'd just about givin' up tryin'! You've givin' me renewed hope.
Thanks for the time you've put in on this subject.

WB
User avatar
Toejammer
Posts: 878
Joined: Fri Apr 30, 2010 10:09 pm
Location: Tryon, NE

Re: Cutting Stag, Making the most of your rack.

Post by Toejammer »

Awesome post ! I've had a rack sitting under my bench since last summer, but I've been too scared to cut on it for fear of screwing up the slabs. I like how you managed four slabs out of that round, now i know how to do it myself. ::tu::

Thanks for sharing this !
A wise man can learn more from a foolish question than a fool can learn from a wise answer.
Bruce Lee
User avatar
orvet
Gold Tier
Gold Tier
Posts: 19350
Joined: Tue May 16, 2006 6:23 am
Location: Willamette Valley, Oregon

Re: Cutting Stag, Making the most of your rack.

Post by orvet »

Good tutorial Kaleb! ::tu::
Dale
AAPK Administrator

Please visit my AAPK store: www.allaboutpocketknives.com/orvet

Job 13:15

"Buy more ammo!" - Johnnie Fain
“Evil is Powerless If The Good are Unafraid.” – Ronald Reagan
knife-nut
Posts: 1427
Joined: Fri Jun 30, 2006 2:09 am
Location: Wichita, Kansas

Re: Cutting Stag, Making the most of your rack.

Post by knife-nut »

Thanks Kaleb, I've had an huge elk rack for a couple of years now wondering how the best way to cut it up. :D
Post Reply

Return to “Knife Related Tutorials”