
Then in early November, Orvet posted his tutorial on "Fitting Handles to Bolsters" this provided some very good instruction on cutting, fitting and attaching Stag to the bolsters and liners and inspired me to go ahead and take the plunge. So I order a set of Amber Carved Stag Bone (CSB) scales from Culpepper's for this project, along with a variety of jigged bone and stag for future projects.
Below are some pic's on how the project progressed,
Here are some before pic's of the Forest Master.
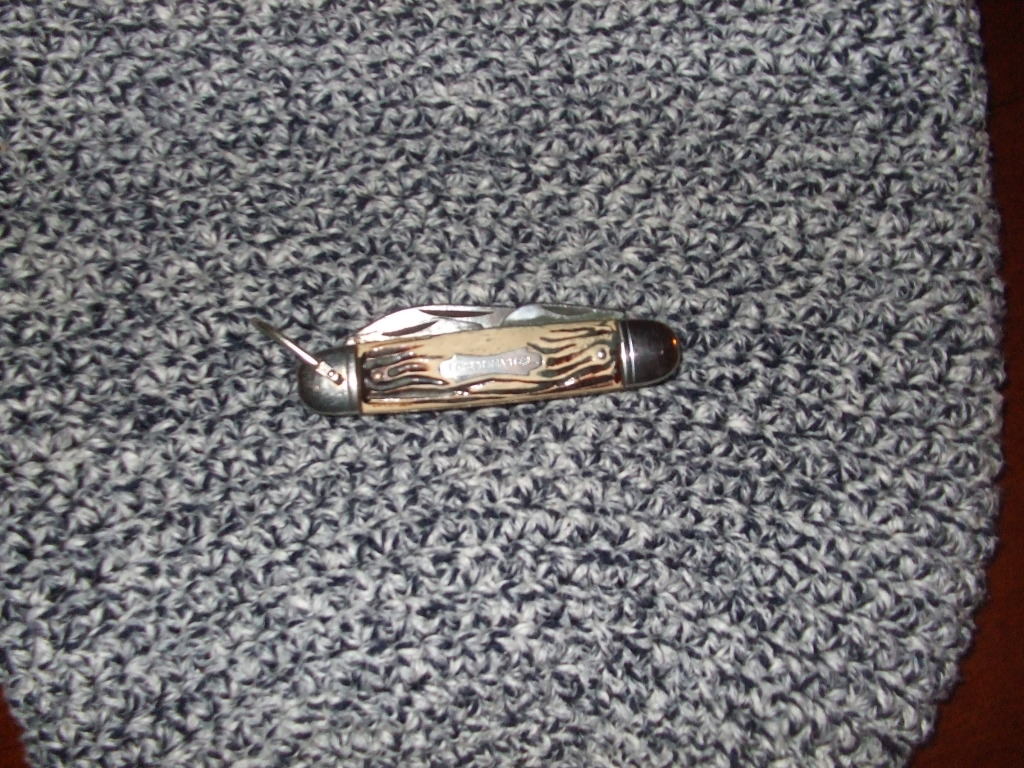
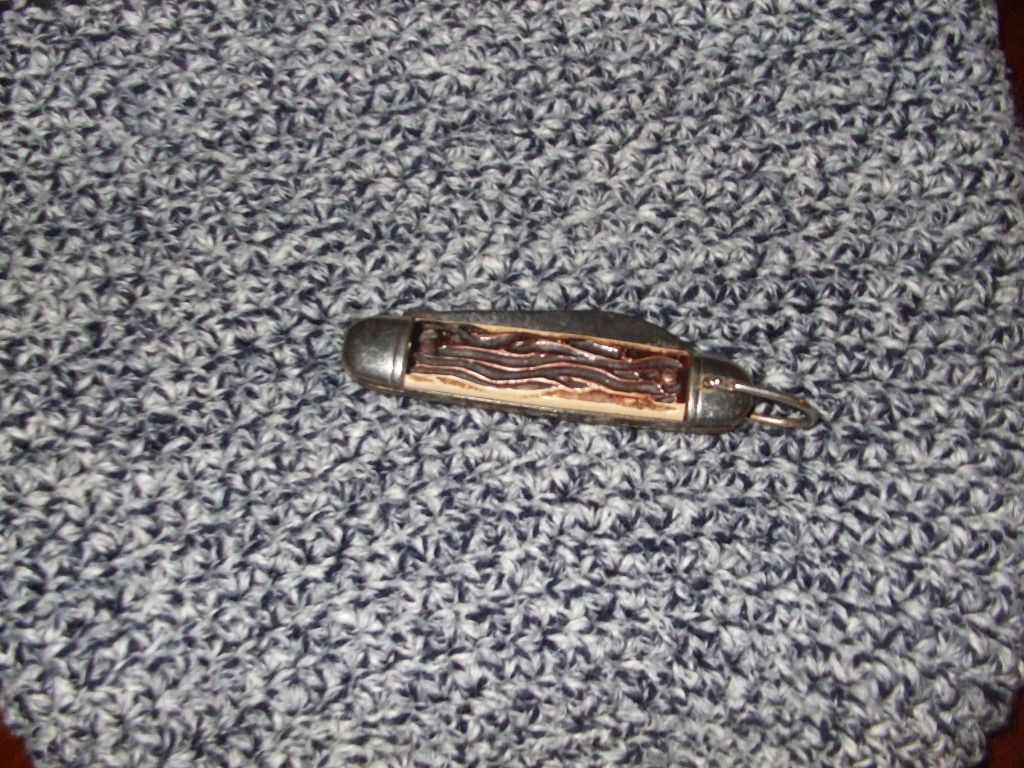
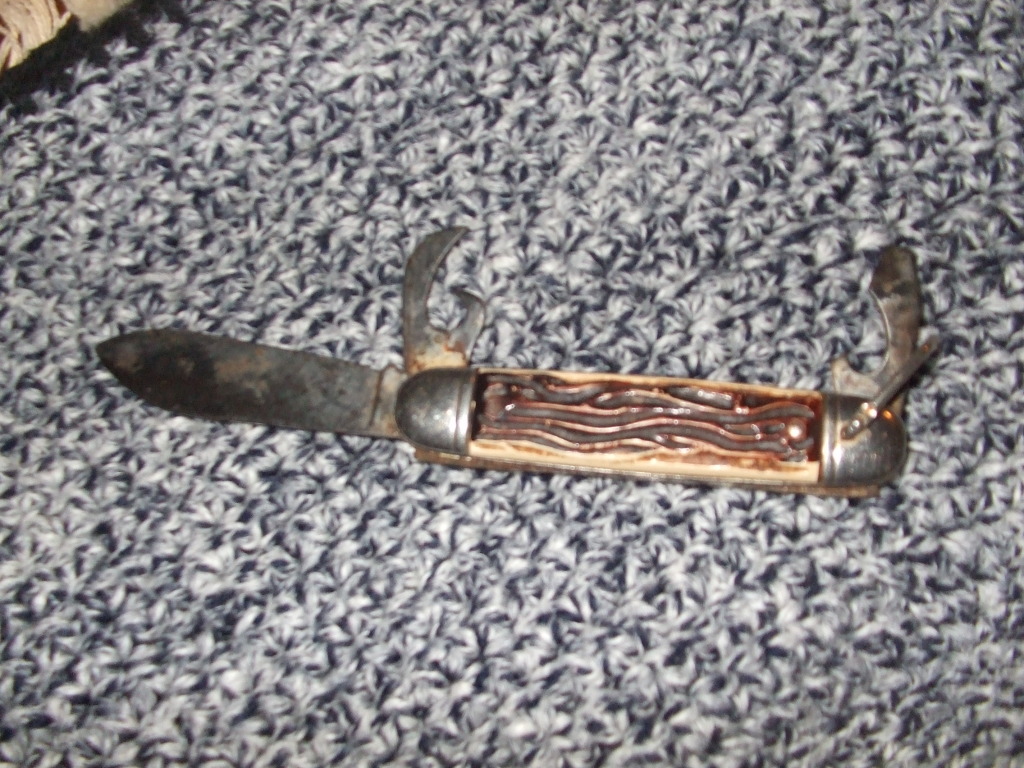
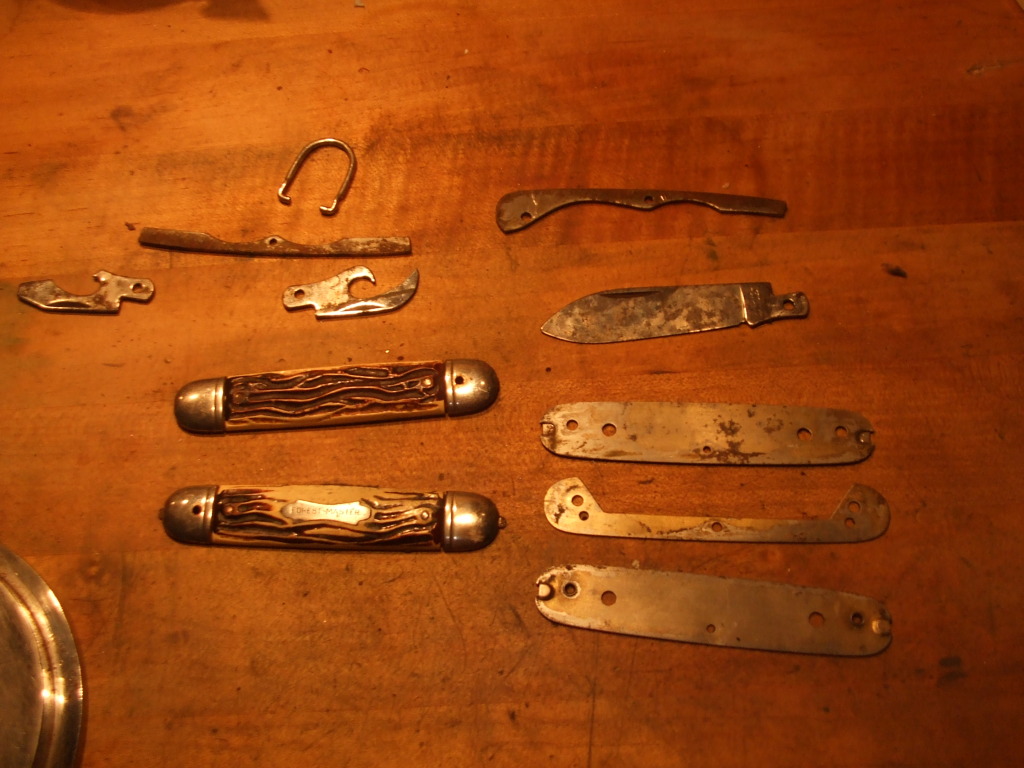
Forest Master disassembled.
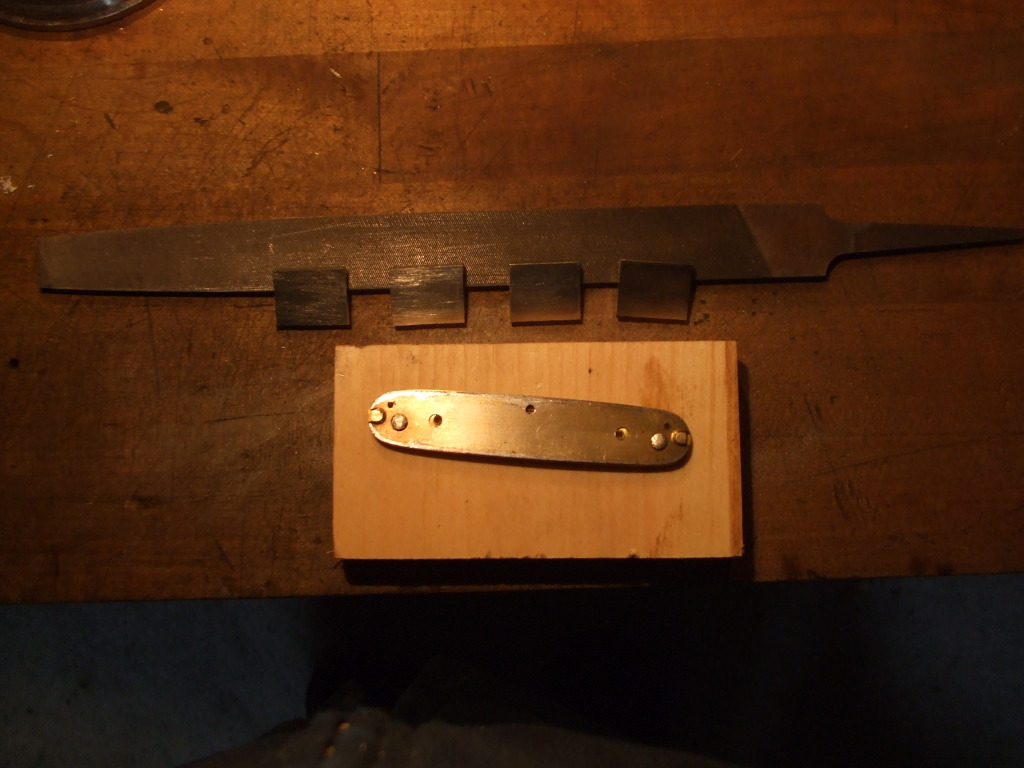
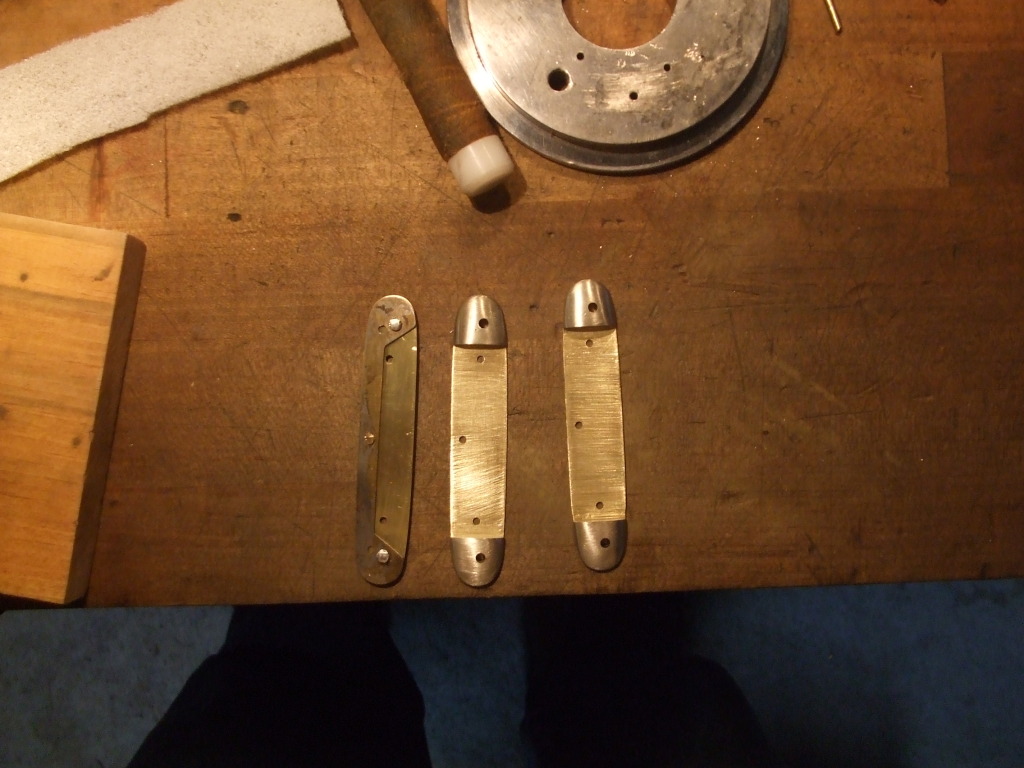
Pic's of the new brass liners I made. I sandwich pieces of brass stock (.032") between the orginal stamped steel liners drilled holes, pin them together and ground them to shape. Also are pictures of the four new nickle silver bolsters, flattened on one side and edge with a file.
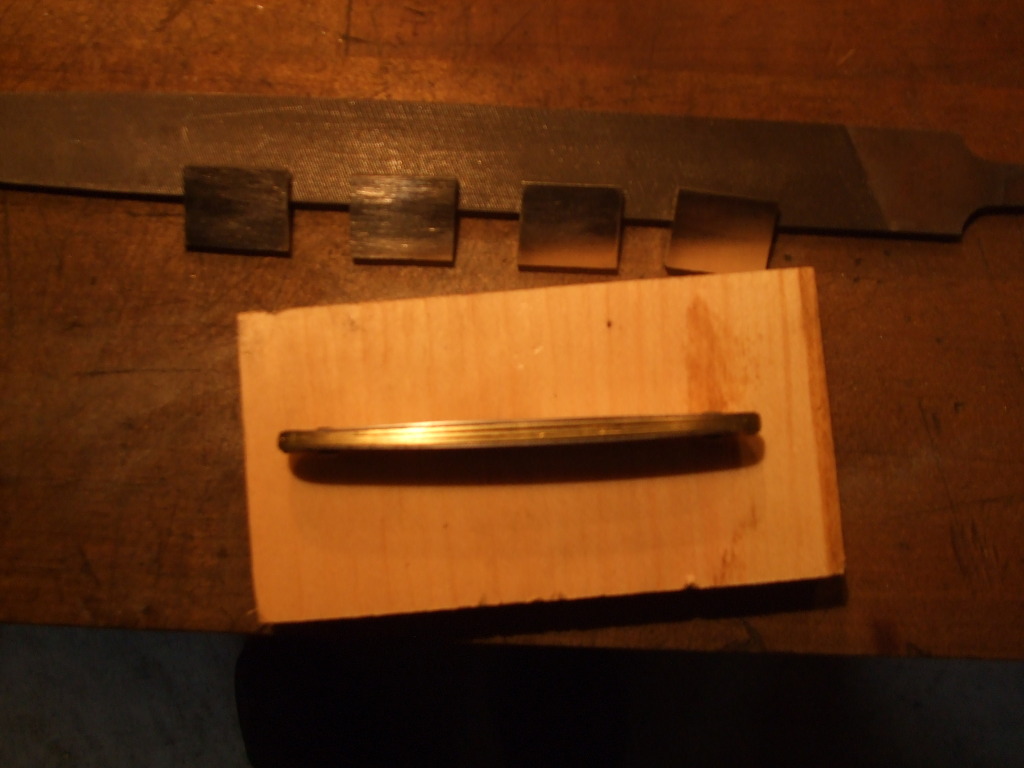
Pic's of liners after removing stamped steel template.
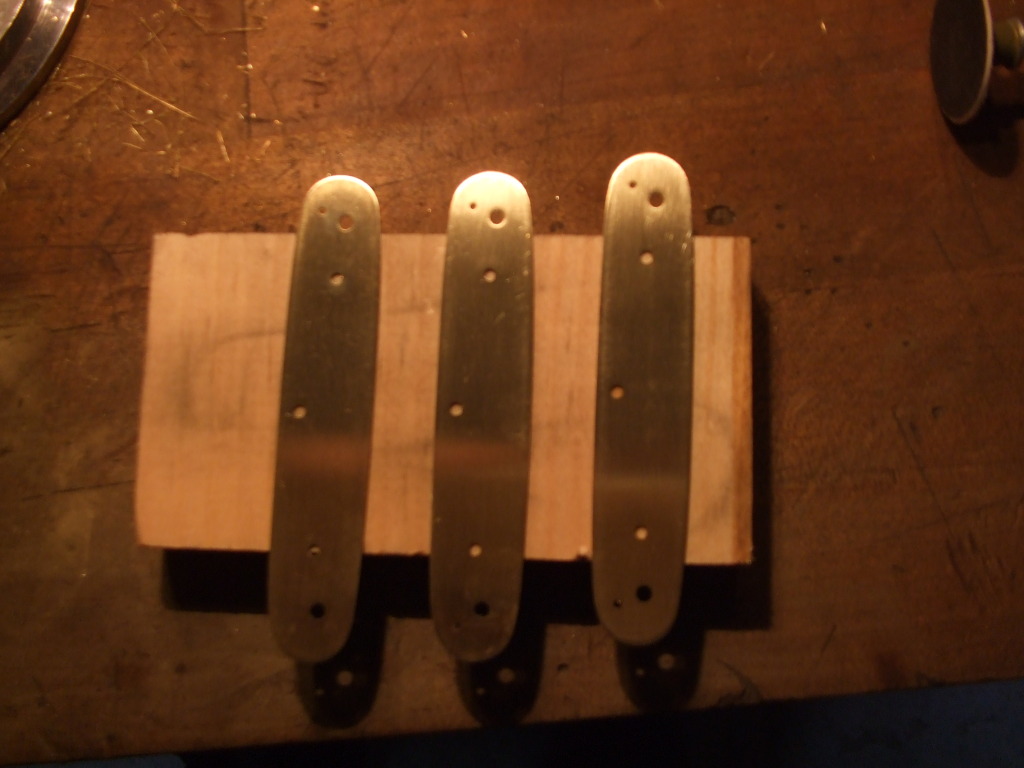
I then removed the old plastic scales from the original stamped steel bolster plate and use these to set the spacing of the nickle silver bolsters on the brass liners. Using the plastic scales also helps to ensure the new bolsters are parallel. They also help keep the brass liners from bending while shaping the bolsters on the sander.
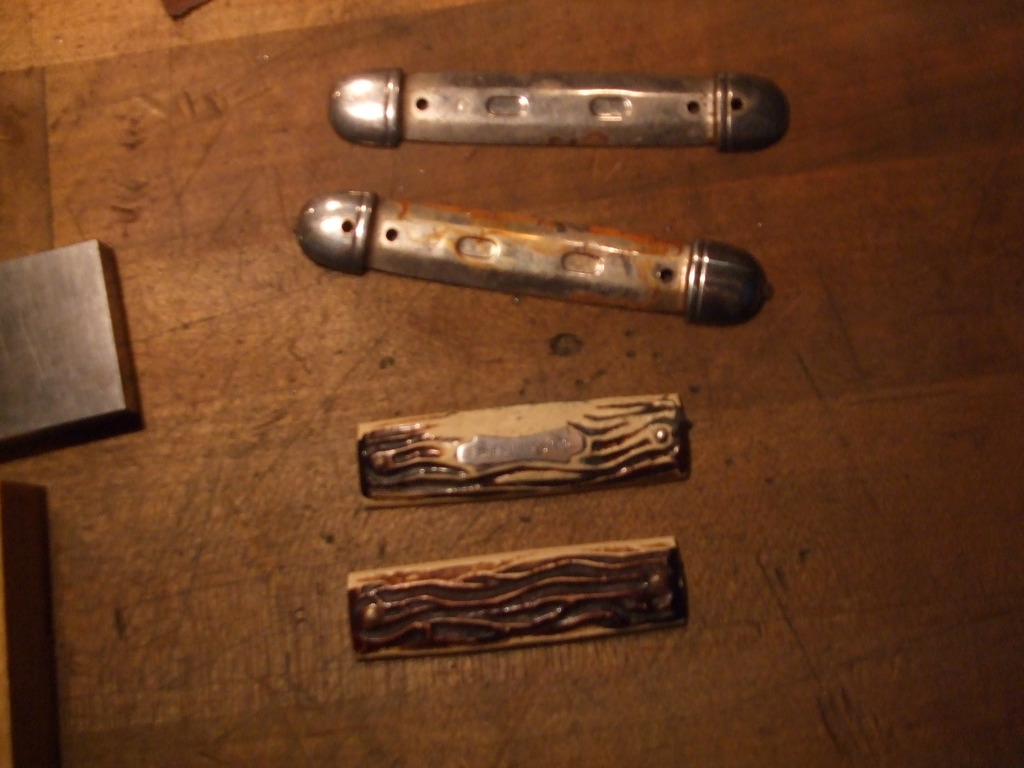
Bolsters and liners pinned together.
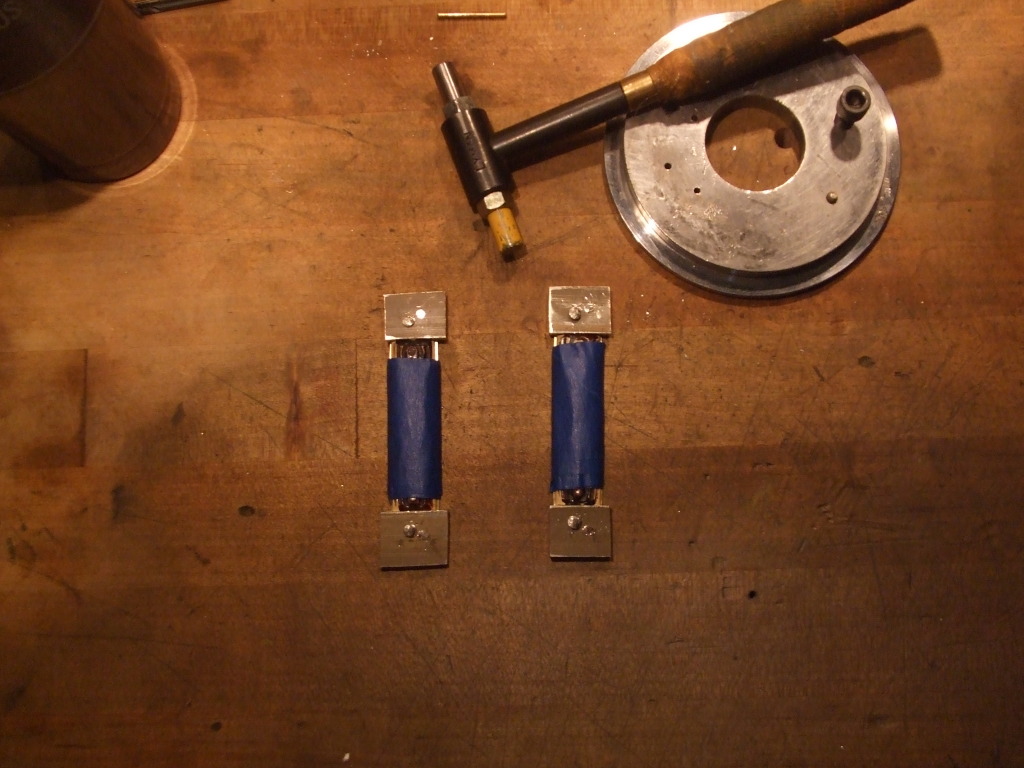
Bolsters partially and fully shaped. I used my belt/disc sander and my 1" x 30" belt sander for this and shaping the liners in the earlier photo.
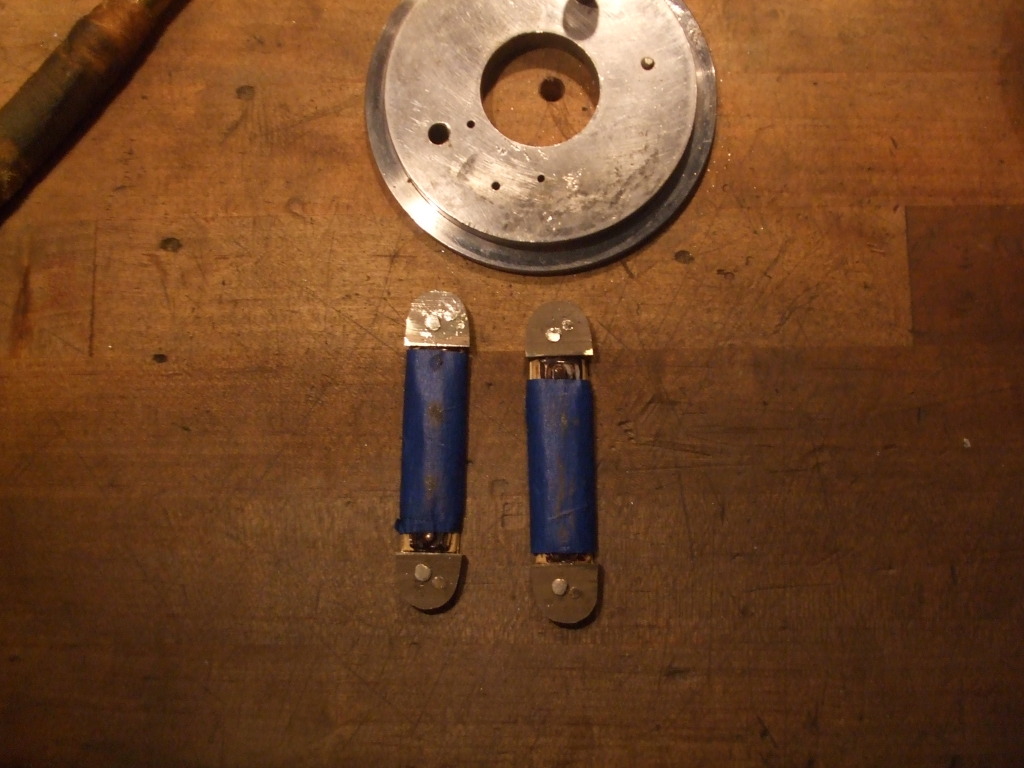
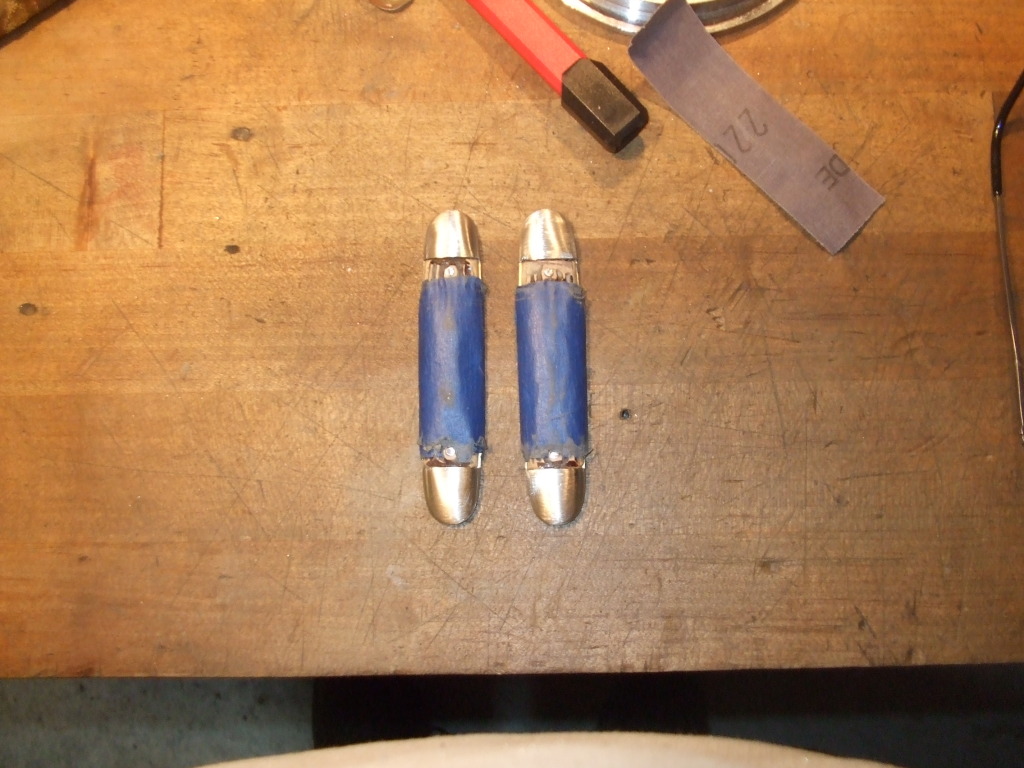
Pic of assembled liner and bolster ready for handle material. Also in this pic is the third brass liner pinned to the stamped steel cut scale for shaping.
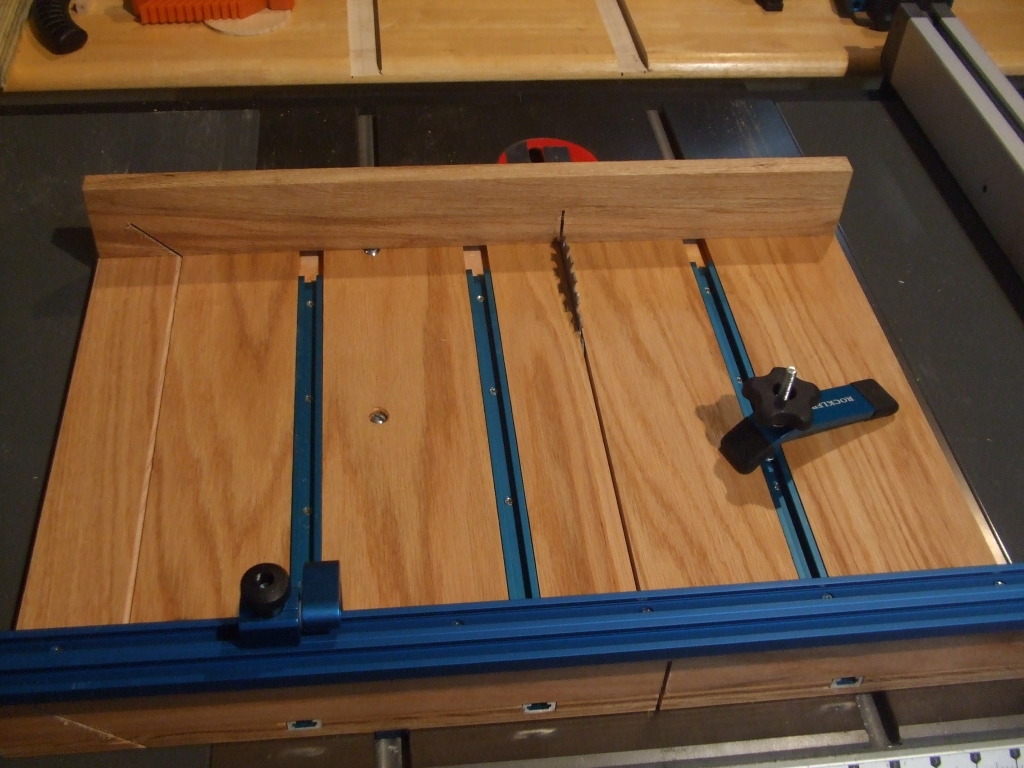
I then cut the Amber CSB to length using a sled/ jig that has hold downs built into it,on my table saw. I use this jig for box making and cutting my wooden scales to size. I was little leery using the table saw to cut the bone. I was afraid it might shatter, but it actually worked quite well. I would not recommend cutting the scales this way unless you have a similar sled / jig. I got the plans for this sled from my Woodsmith Shop Notes magazine.

Pic of the Amber CSB fitted to the bolster / liner assembly. I cut the scales about 1/8" longer than needed and then fitted them with my dic sander and then by hand.
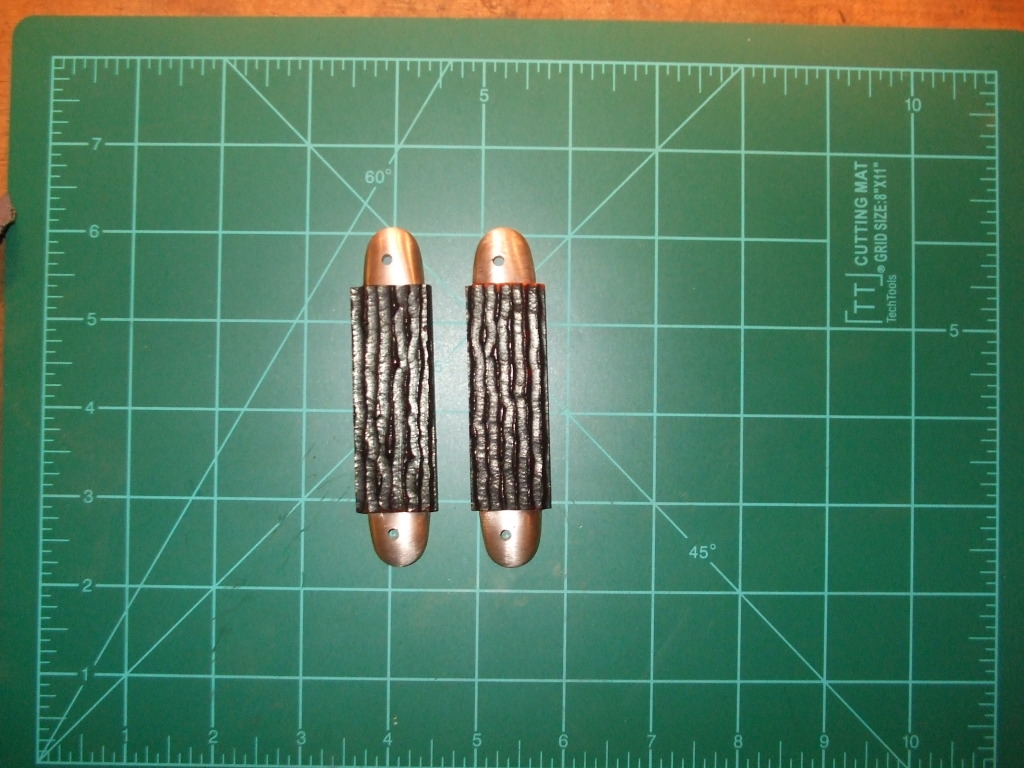
I then followed the steps in Orvet's tutorial for gluing the scales to the liners. See link below.
http://www.allaboutpocketknives.com/kni ... 38&t=33927
I then polished the blades and springs and assembled the knife, sorry no pic's of this process. The pin spinning was a bit of a challenge. I was using a pin spinner from Jantz and reread many of the threads on pin spinning and had limited success using these tips. I ended up having the best results by pre-mushrooming the ends of the pins and using a drop of Rapid Tap cutting oil.
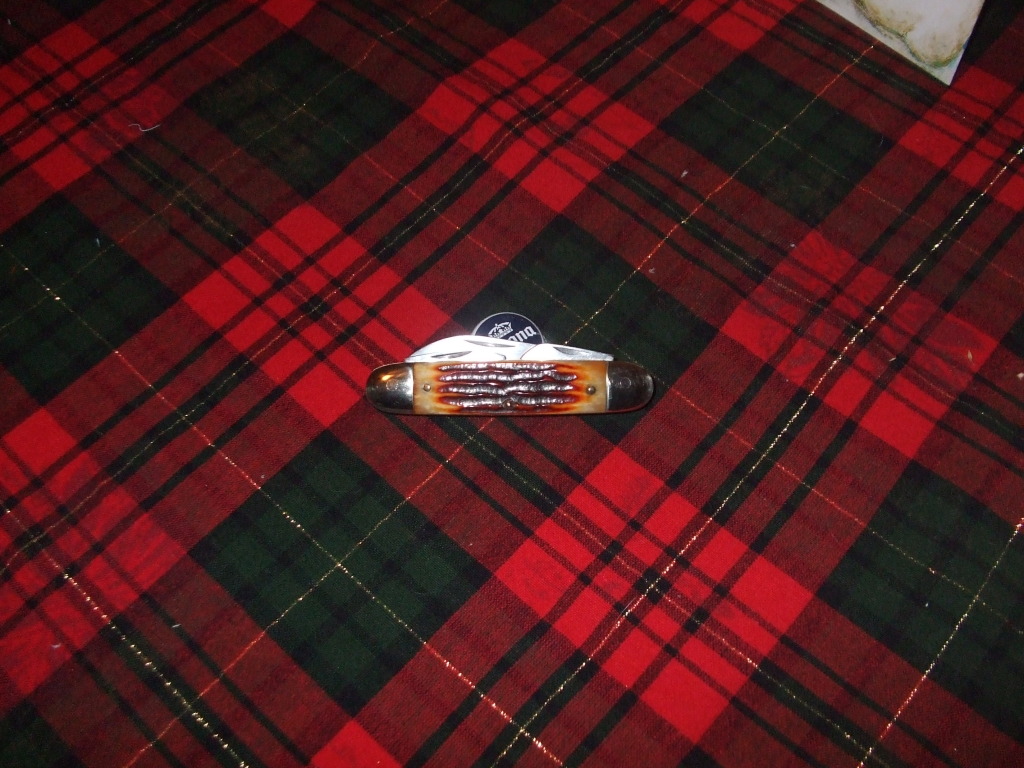
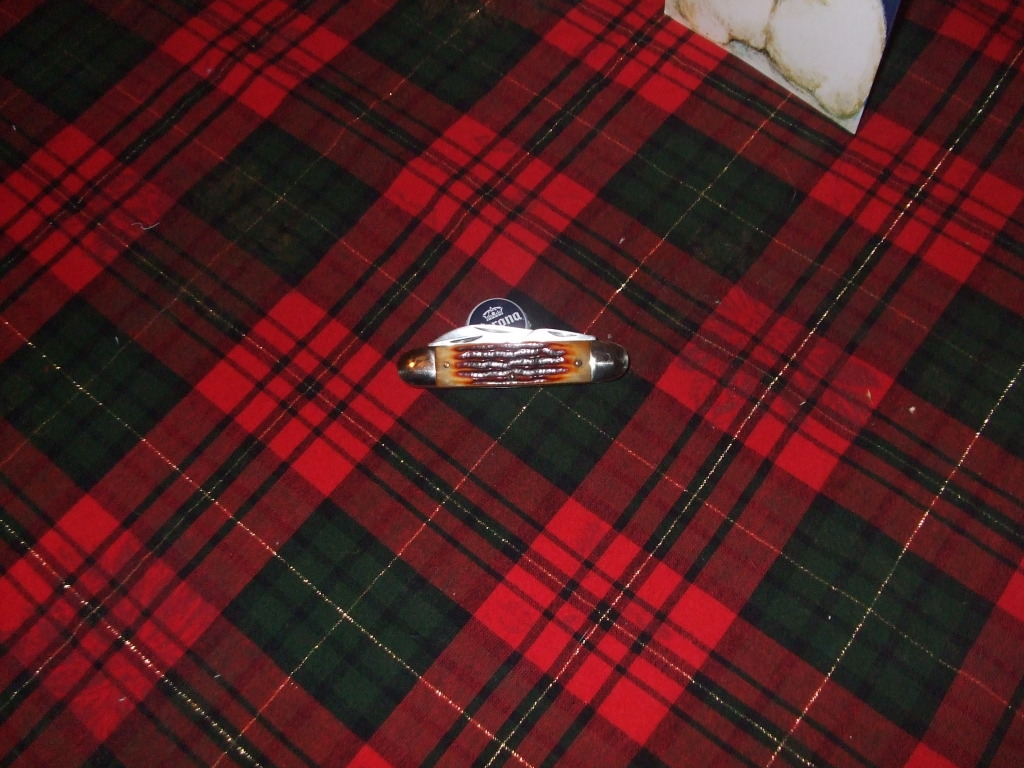
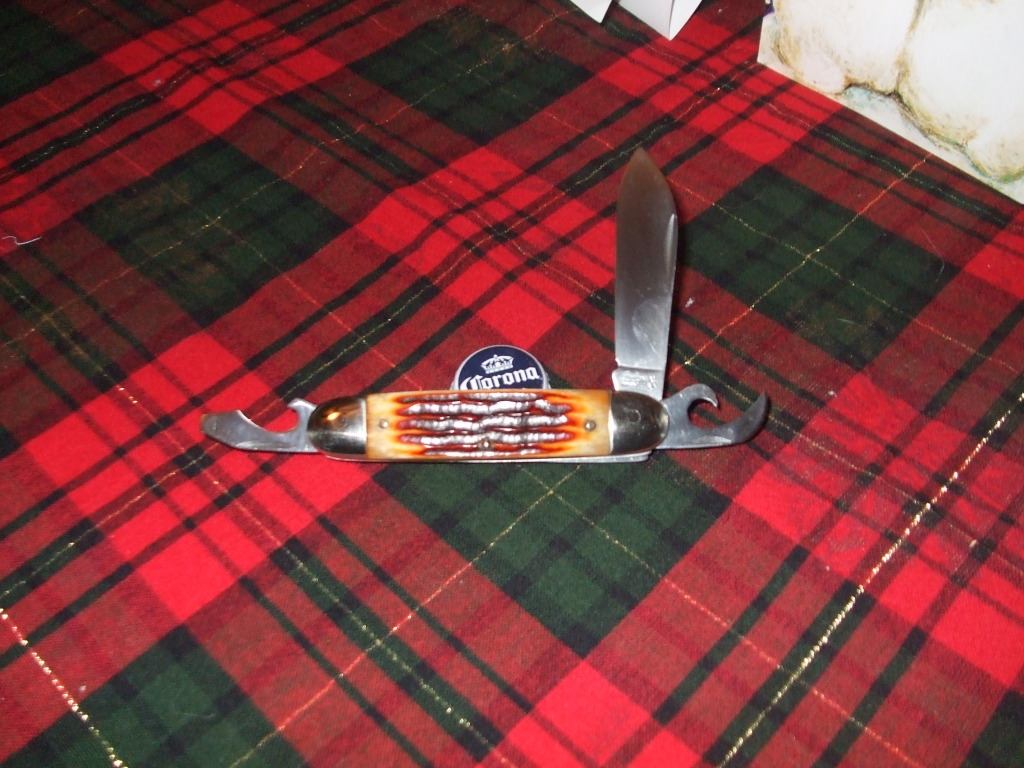
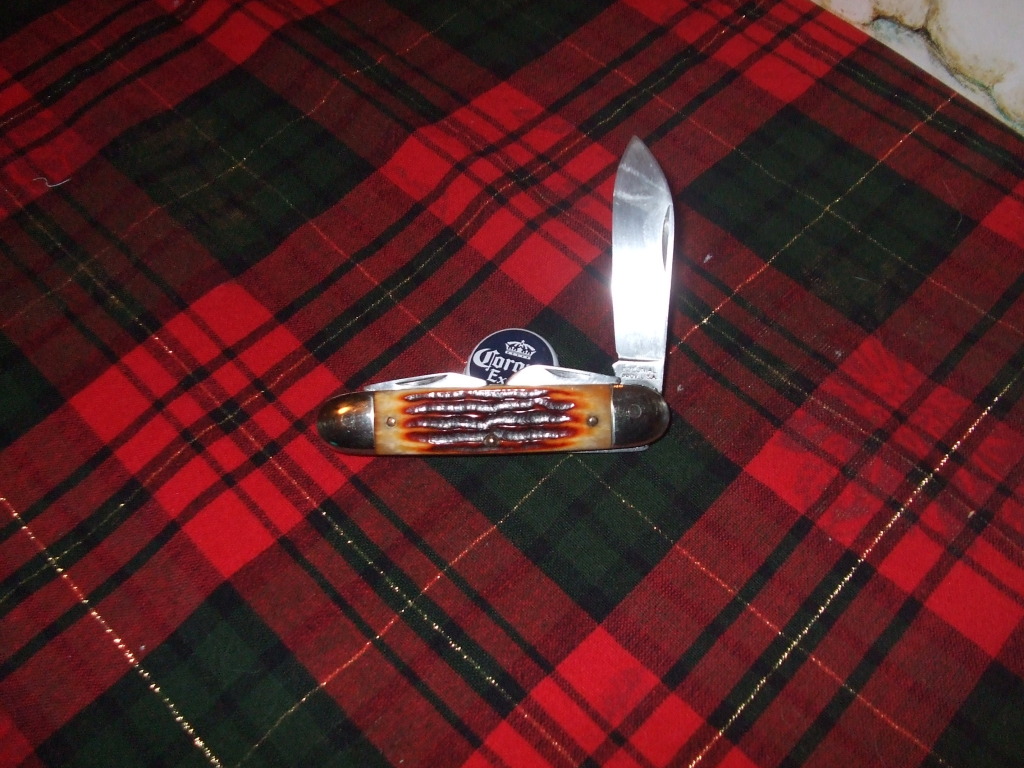
Here are pic's of the finished knife. It's not perfect, but overall I think it turned out pretty good. It was a challenge and I learned a lot. After posting this I'm headed out to the shed to pick out my next "victim"

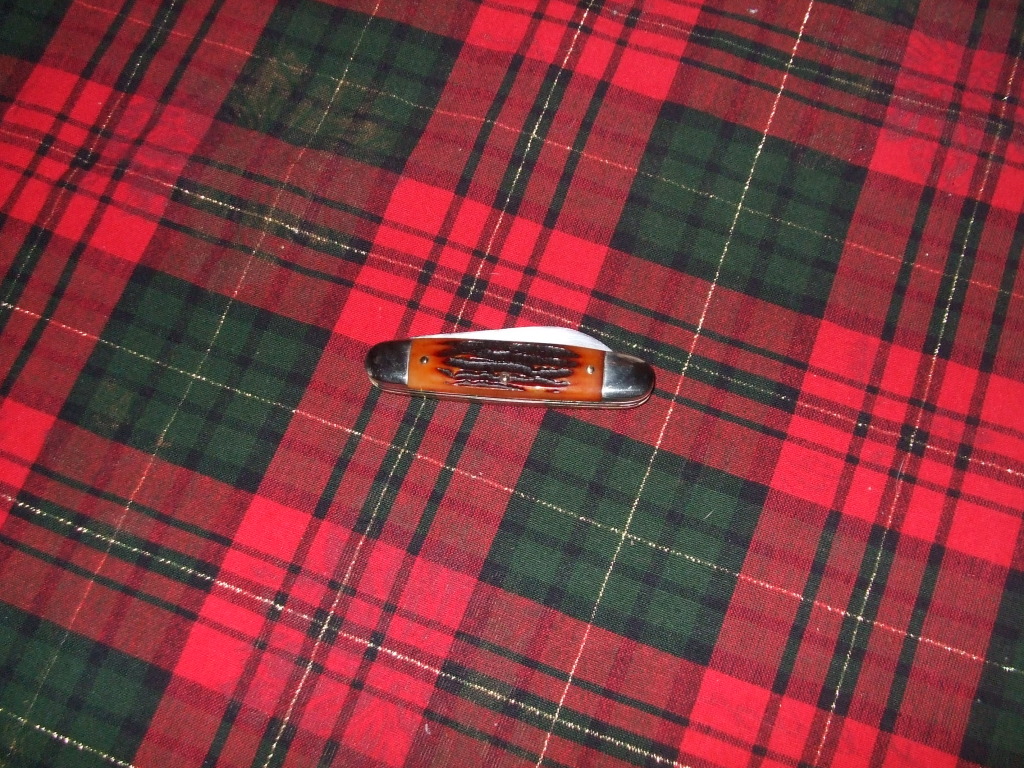

 I like it!!